Arches Tab
The arch tool is still in development. See notes marked with an * asterisk to see what options are still being developed. If you come across a bug, please submit a report by clicking Help>Support/Bug Report in the main menu.
You can submit a post (or up-vote existing ones) on our feature request page to help us set development priority.
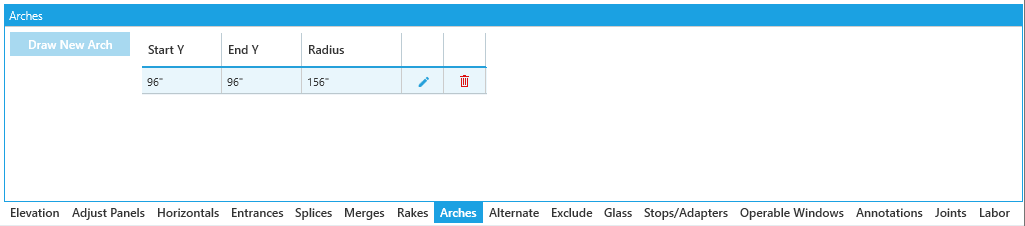
The Arches Tool Tab will show a list of arches applied in your current elevation. You can use this list to quickly review, edit, or delete an existing arch.
Currently, only one arch can be applied to an elevation.*
Arch Drop
You can find an option to set a custom Arch Drop in Settings > Team Settings. This lets you customize the drop length added to your cuts at arch conditions.
Arch Drop values will effect your entire team. Once you set this value, it will apply to all new jobs after the Arch Drop is set.
Adding an Arch
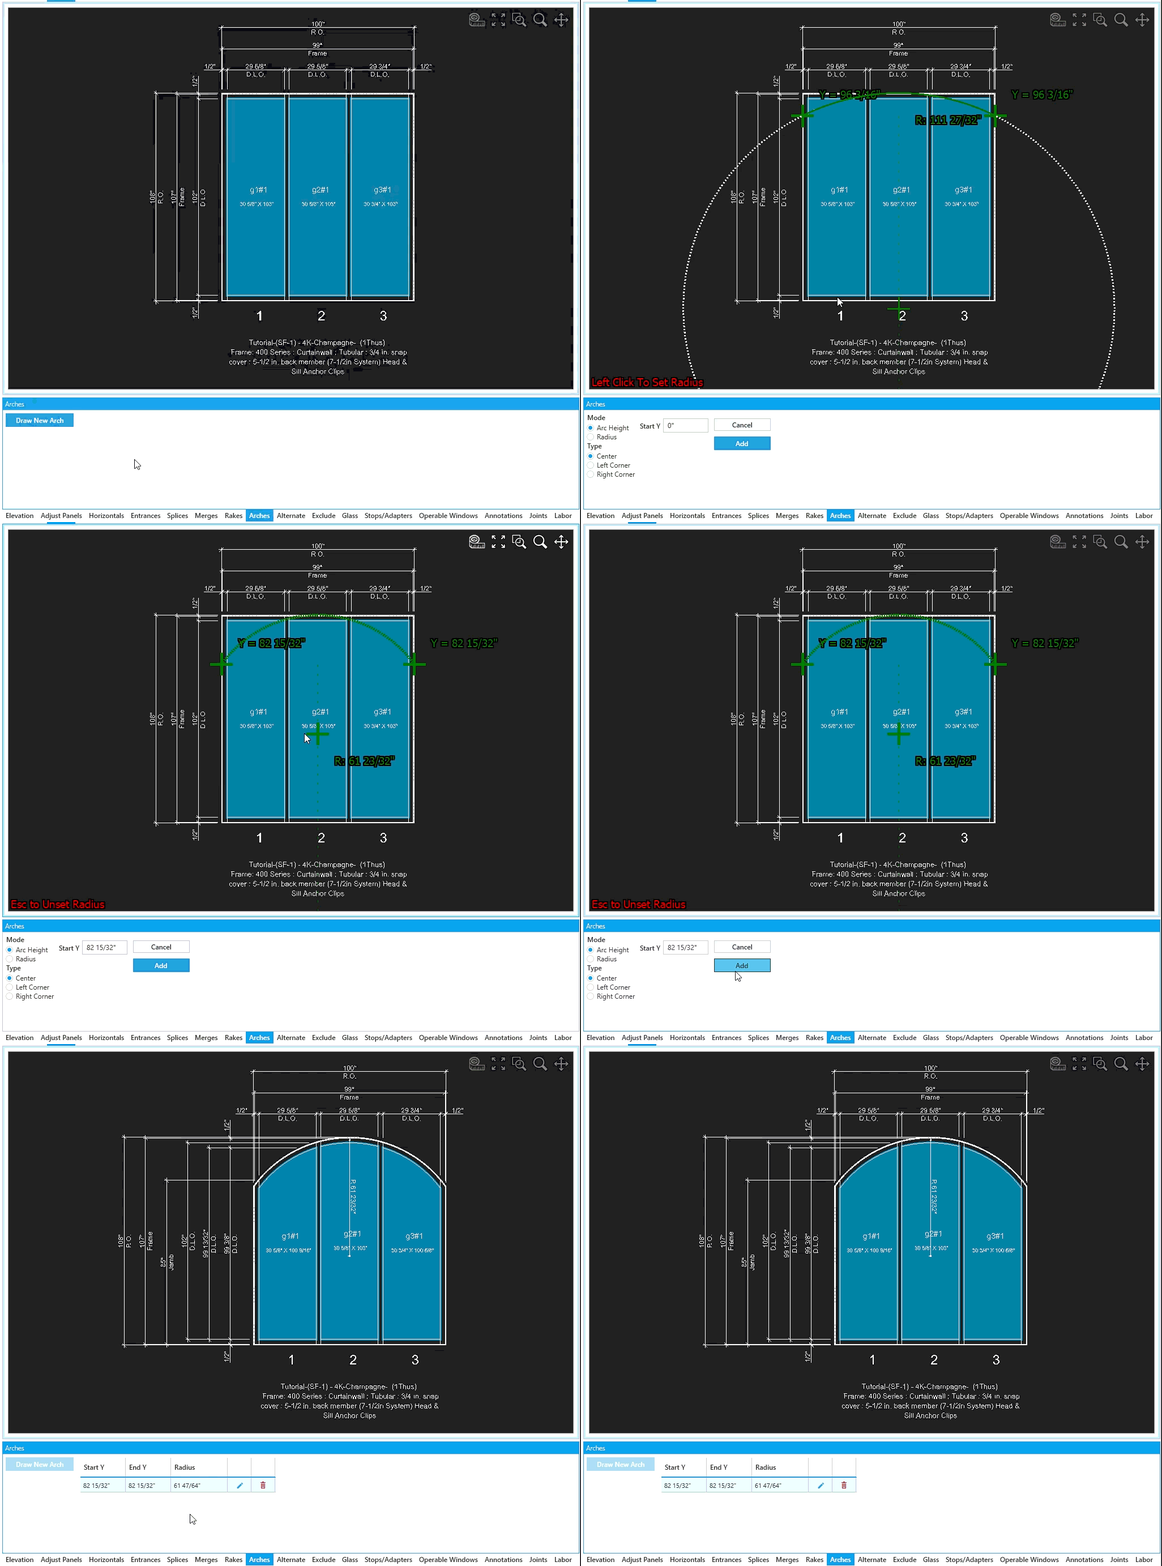
Click the Draw New Arch button to apply an arch, see Modes and Types below for more details.
Mode
-
Arc Height- Move your mouse to change theStart Yvalue in inches, then left-click to confirm.- The
Yvalue here is the height from the base of the arch to the bottom of the elevation.
- The
-
Radius- Move your mouse to change theRadiusin inches, then left-click to set the arch.- The
Radiushere is the distance from the top of the elevation to the center of the arc.
- The
Options
-
☑
Continuous Head- If your radius is small enough, the option to toggle a continuous head assembly will appear. For larger radiuses (shallower arch), a continuous head is automatically applied. -
When your arch is set, you can hit the
Esckey before clickingAddto unset and adjust it. Left-click to set the arch again or type in yourStart Y/Radiusvalue manually.
Types
-
Center- Locks the center of the arch radius to the middle of the elevation's width. -
Left Corner/Right Corner- Locks the center of the arch radius to the bottom left / right corner of the elevation.- Currently, this option is only available for elevations with Widths less than or equal to their Height.*
Confirm / Return
Click Add to confirm your settings and return to the list of arches applied to the elevation.
Click Cancel to cancel and return to the list of arches applied to the elevation.