Rakes Tab
Create angled panel shapes by drawing a raked boundary across the frame.
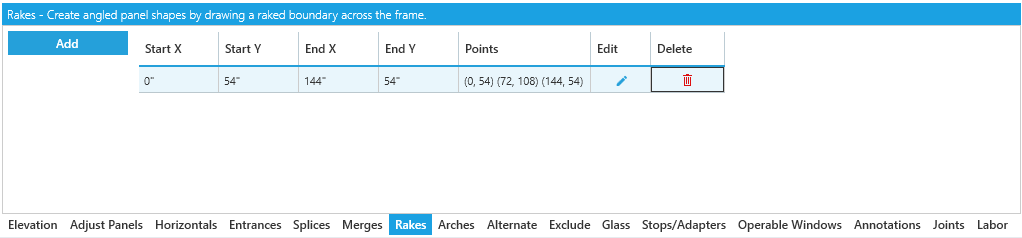
This tab lists all applied rakes in this elevation with buttons to edit or delete them. If rakes haven't been added, the list will show No Existing Rakes instead.
At the moment, the Rake tool allows you to add multi-point rakes or 'Rake Chains' but this can cause unreliable results as rakes start to get more complicated, especially when dealing with slanted verticals.
If this is a high priority item for you or your business, please Click Here to up-vote this feature.
Rake Drop
You can find an option to set a custom Rake Drop in Settings > Team Settings. This lets you customize the drop length added to your cuts at raked conditions.
Rake Drop values will effect your entire team. Once you set this value, it will apply to all new jobs after the Rake Drop is set.
Adding Rakes
Click the Add button to create a new rake.
Your tab will switch to a new view where you can select points on the edges of frame segments to define the rake.
In WinBidPro, Rakes are made by subtracting from the overall elevation.
Make sure you set the Original Height & Original Width in the Elevation tool tab according to the tallest and widest dimensions for raked systems.
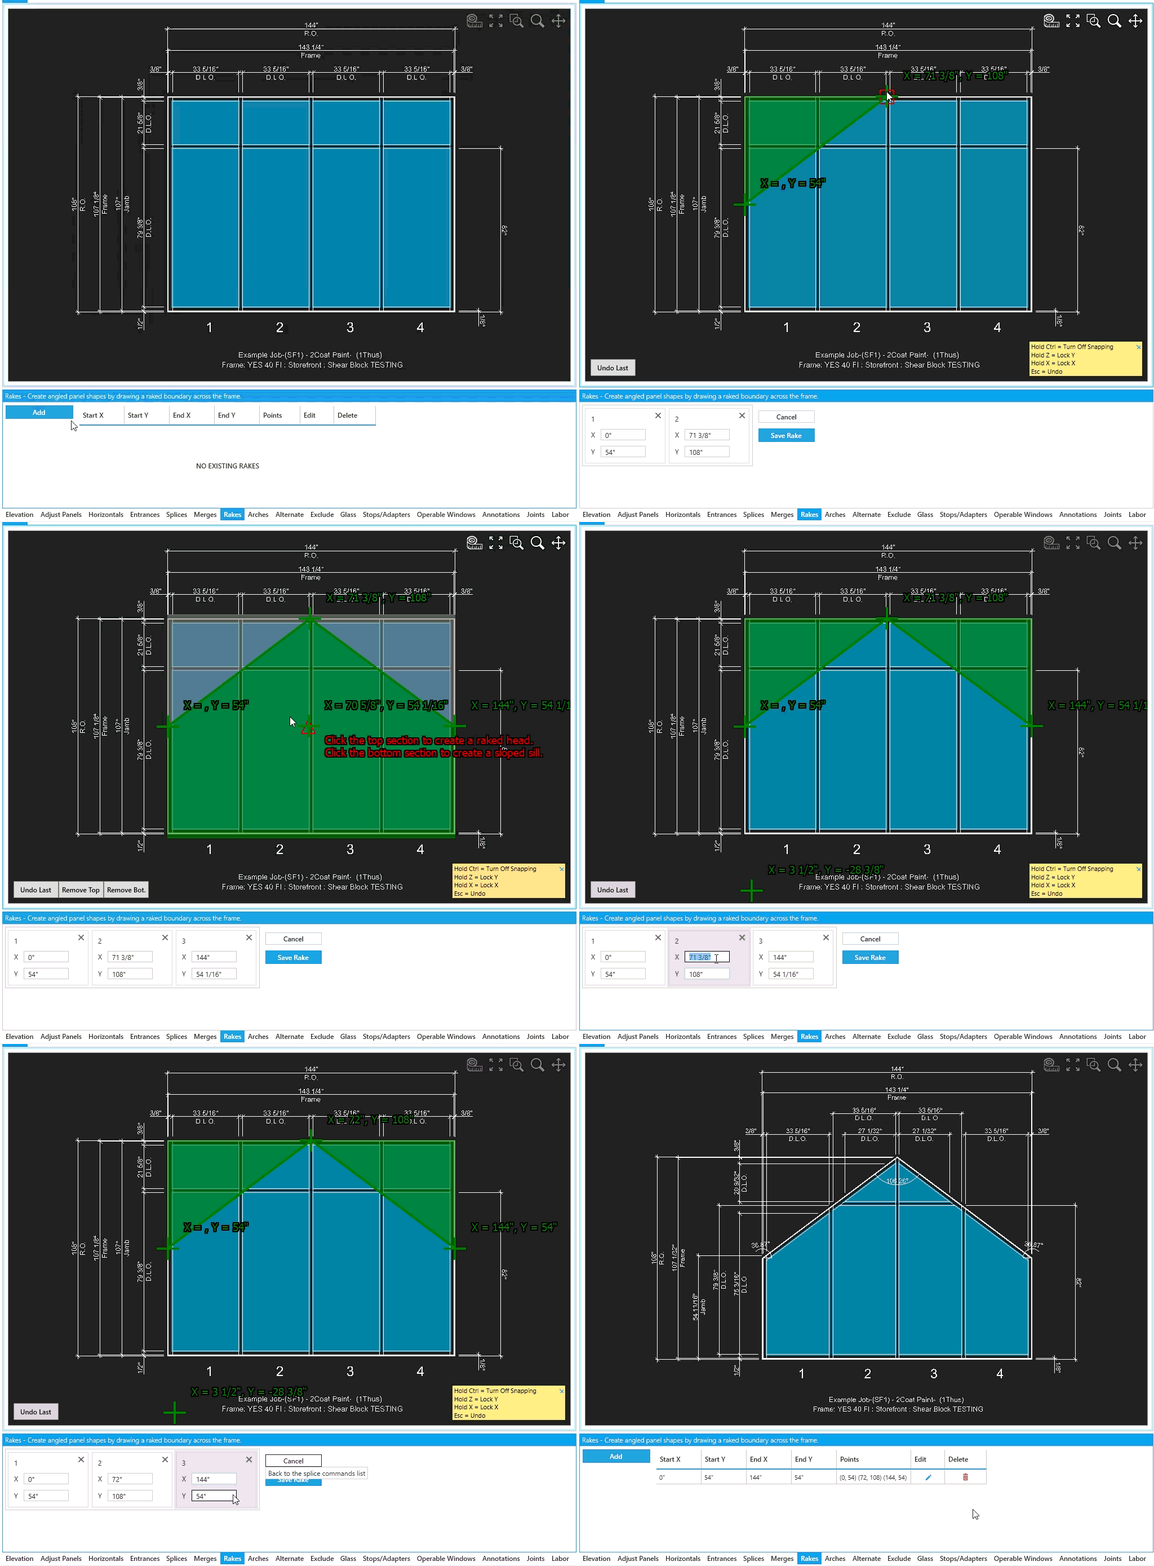
The Rake tool uses point-snapping to automatically place your mouse at end points and mid points of extrusions as you get close to them.
You can temporarily disable this by holding Ctrl while you're placing points.
Process
-
Click
Addto start a new rake -
Click two or more points on the elevation to create a rake line.
-
By default, the Rake tool will remove the portion above the rake line. To remove the bottom portion, hit
Escafter selecting your points to manually select top or bottom removal.- In some complex cases, the rake tool with ask you to confirm top or bottom removal.
-
-
If needed, adjust each point in the Tool Tab by changing the values of
X(horizontal position) andY(vertical position).
Confirm / Return
Click Save Rake to confirm your settings and apply the splice.
Click Back to return to the list view.