Getting Started
Getting Familiar with WinBidPro
If you're brand new to the app, we recommend reading through the Basic Workflow page for a quick breakdown of a typical job.
If you want to know more, the Core Concepts section goes through the big picture and important concepts behind WinBidPro.
Documentation Sections
The documentation is broken up into the following sections. Use the sidebar to the left (or the menu button on mobile and small screens) to find specific sections and pages.
-
Getting Started - (This Section) - The basics of the program, including big concepts, UI guides, and some extra information for those upgrading from v15.
-
Features and Tips - Pages devoted to big features, as well as tips for specific tasks, like Sharing Jobs.
-
Drawing Elevations - A breakdown of the tools used to refine your elevations.
-
Finalizing Your Estimate - A breakdown of your job summaries and settings.
-
Exports & Print Outs - Details on export options including reports, spreadsheets, labels, quotes, and shop drawings.
-
Custom Parts & Systems - Advanced topics on configuring your own parts and systems or editing the preconfigured ones.
-
Integrations & IT - Advanced topics for large or tech-focused organizations.
Installing WinBidPro v16
After downloading v16, open the installation file and go through the installation menus. Once installed, a "W" WinBidPro v16 icon will be added to your desktop and start menu. The program will open automatically when the installer is finished.
WinBidPro v16 is a hybrid Cloud based system, so the program is installed on your computer, but all of the data used for quotes and drawings is stored in the Cloud on Amazon AWS servers. This means you can install the software on any computer running Microsoft Windows 8 or newer, login with your email address and password, and still have full access to your company's data.
Apple Mac users can run WinBidPro through virtual machines or booting into a Windows partition. If you're interested in this, customer feedback suggests Parallels and VMWare are solid options.
Choose Your Vendor Catalogs
The first time you open v16 you'll be prompted to select the vendor catalog(s) you want quick access to. If you ever need to add or remove catalogs from your list, you can click Catalogs > Manage Vendors at the top of the WinBidPro window.
Whenever you create a new job you'll select one of these catalogs. To avoid mismatched parts or overlapping parts numbers, each Job in WinBidPro can only have one catalog associated with it.
Home Tab
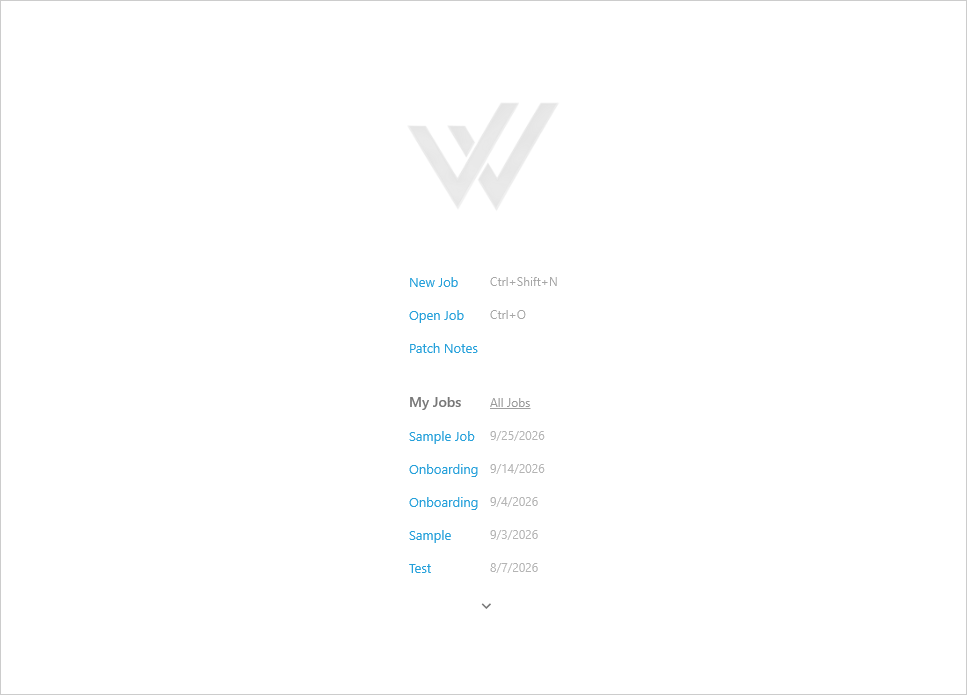
Without a job loaded, you'll see this page in the main workspace area. From here you can create or open a job, or review the most recent changes by clicking Patch Notes. You'll also get a list of jobs you've recently worked for quick access.
Catalogs
Know Your Catalogs
We always recommend that you familiarize yourself with the vendor catalog to start.
Most catalogs available in v16 have list pricing already configured. A discount multiplier of 1 is set to all parts by default, so it is up to you to enter your company's multipliers for a certain vendor. You can change multipliers in a couple ways:
-
To change them for a specific job use the
Change Multipliers...option in theReports>Final PartsorJob>Edit Job Partswindows from the main menu at the top of the app. -
The same option shows up in the
Catalog>Vendor Partswindow. This version changes the multipliers at the catalog level, which will change it for your entire team and every job moving forward.- For more details on job edits and team edits see Core Concepts Part 3 - Local and Global Edits.
Aside from pricing, it's important to get familiar with a framing system's parts before using it on a job.
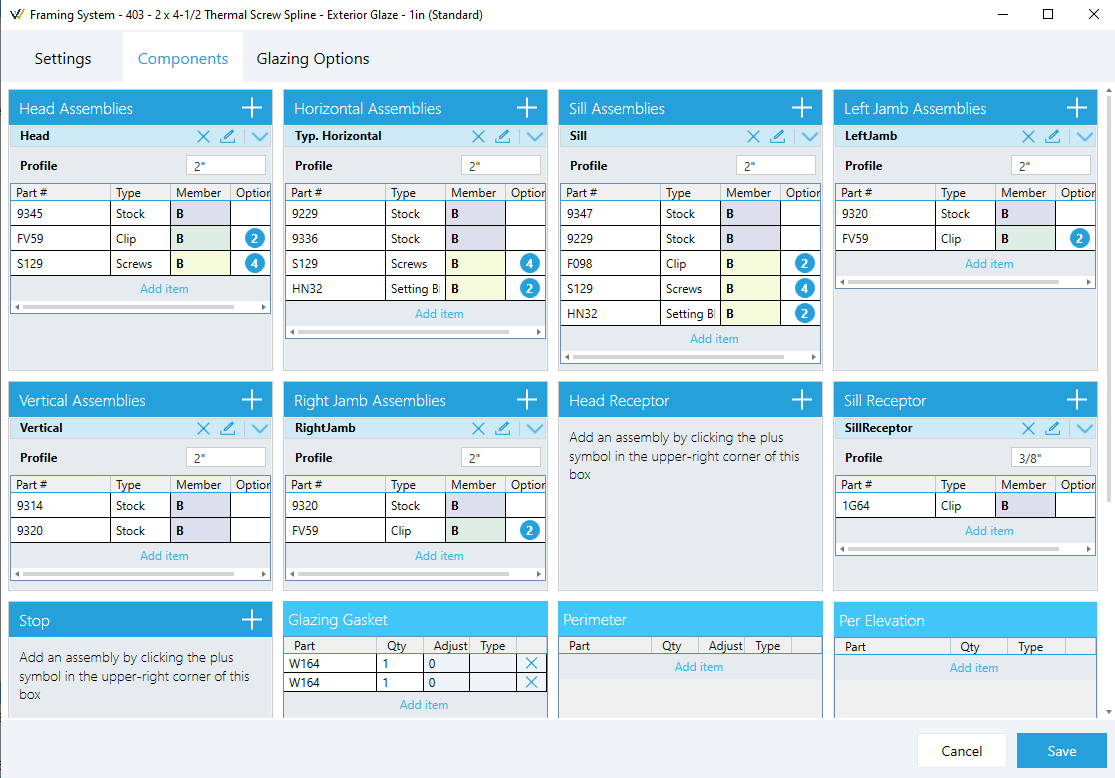
Each preconfigured framing system is built for accurate drawings and parts lists. Before creating a job, it is always a good idea review how a framing system is configured and what parts are being used. You can do that by clicking the edit option from the framing system catalog.
For more detailed information on configuring systems, see the Custom Parts & Systems section.
Creating a New Job
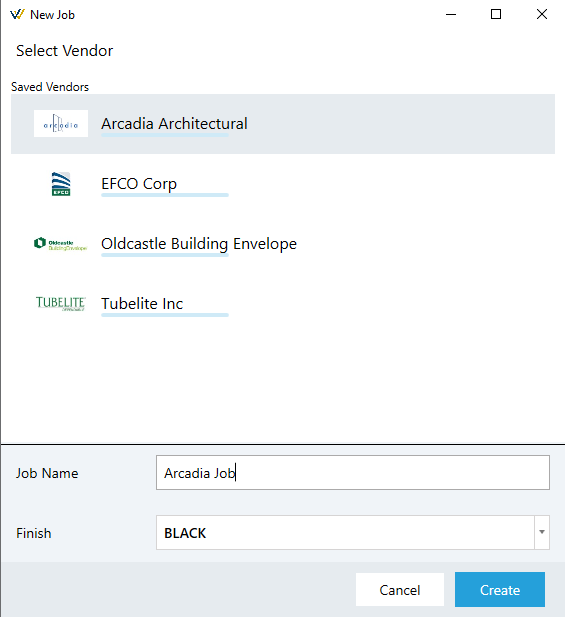
- Click on the
Jobs>New Jobfrom the main menu. - Select the Vendor to use fom the list.
- Enter a name for the job.
- Select a Finish color for the job.
- Click the
Createbutton.
First Elevation
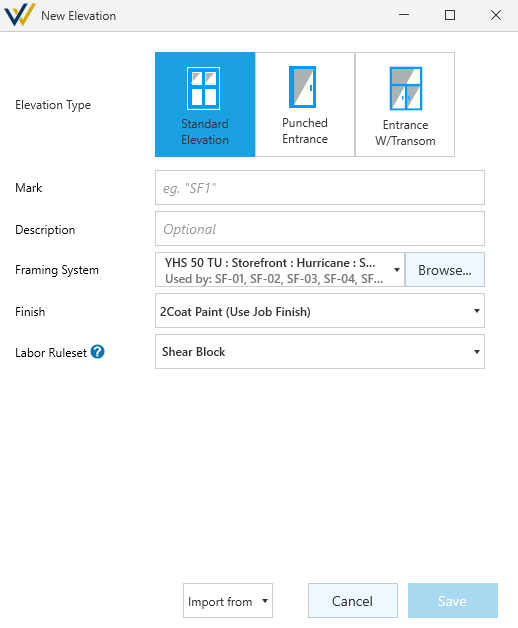
Once you create a job, you'll see the New Elevation window pop-up.
Here you can either enter a Standard Elevation (default), Punched Entrance or Punched Entrance w/ Transom. Standard Elevations cover most use cases. For those, you'll want to:
- Enter a mark - you'll usually want to match this to the tags in your drawing set.
- Add a description (optional).
- Select a Framing System for this elevation by clicking the
Browsebutton. - Select a finish option - this defaults to your finish choice at job creation.
- Select a labor ruleset - see Labor for details.
- Click
Saveto continue to the drawing window.
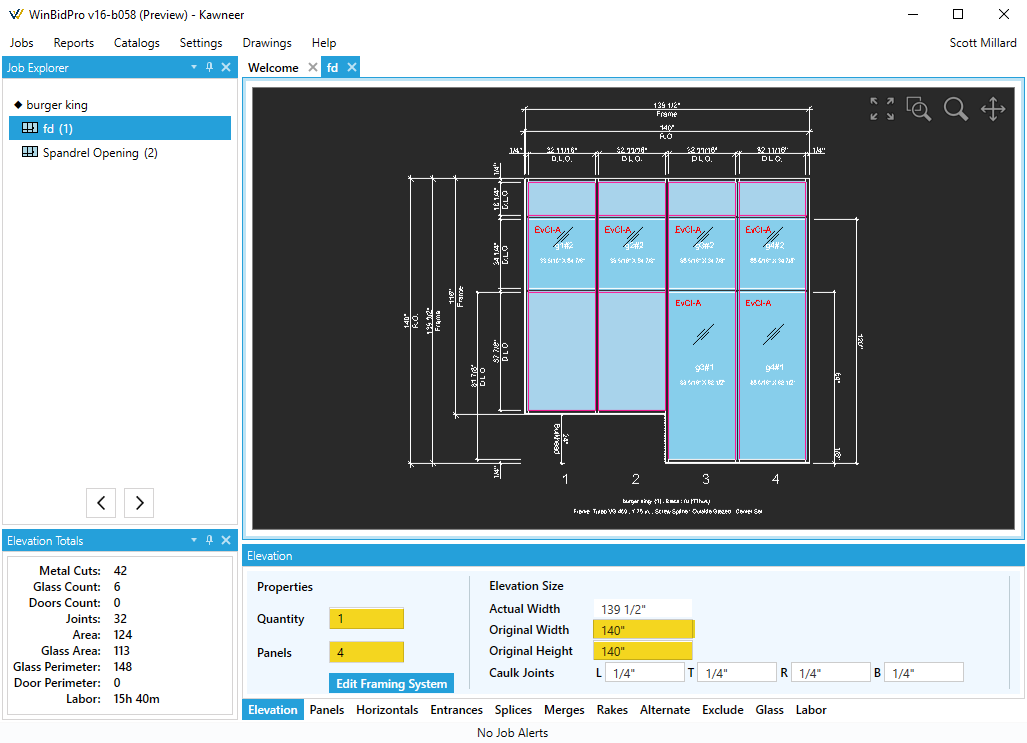
Once you create the elevation, it'll need some basic details before it show up in the elevation view. Below the viewer, you'll see your tool tabs. Input a height, width, # of panels and quantity. Once those are set, you'll have access to the other tool tabs which you'll use to refine the elevation.
See the Basic Workflow page for a breakdown of a typical job from here, or refer to specific sections of the docs for details on each of the steps.