Basic Workflow
This is a quick overview of the basic workflow of a WinBidPro job.
For more details on the topics covered, click the links to go their dedicated sections and pages.
1. Create a New Job
-
Click
Job>New Jobin the main menu, or pressCtrl + Shift + N. -
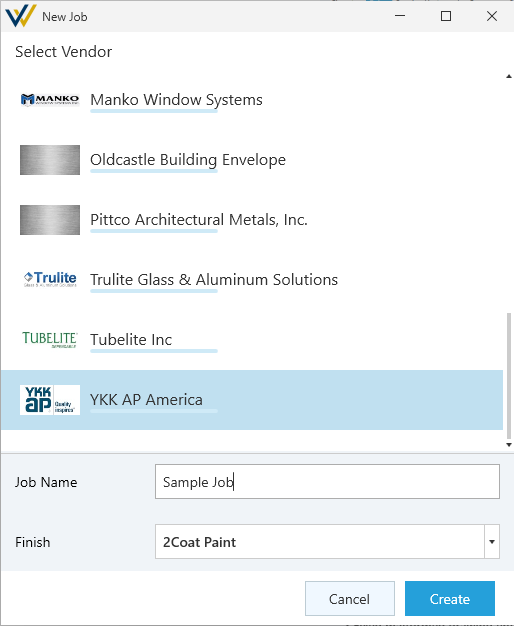
Select a vendor Catalog, type in a job name, and select a default finish option.
-
Jobs in WinBidPro can only have one vendor catalog assigned.
-
For more advanced users, vendor catalogs can be refined, customized, or even made from scratch right in WinBidPro. See Custom Parts & Systems for more details.
-
The default finish option helps save a step in the future, but you can always pick a different finish when creating elevations.
-
-
Create your first elevation, see below.
2. Create Elevations
-
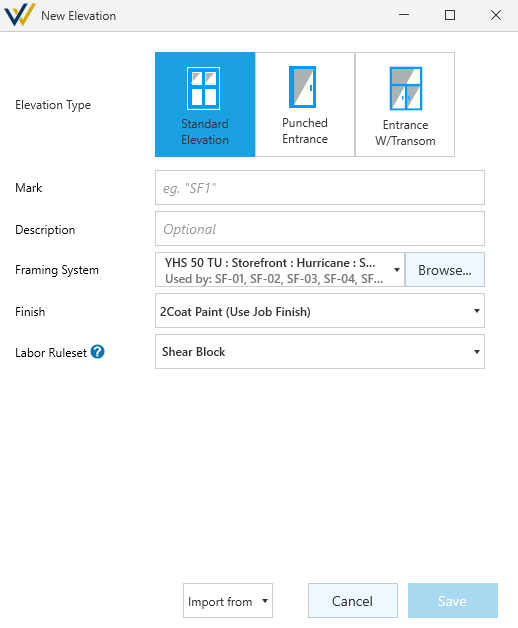
Create your first Elevation and give it an Elevation Type, Mark, Framing System, Finish and Labor Ruleset. You can also chose to give it a Description to identify it more easily.
-
Draw your elevation using the tool tabs at the bottom of your screen.
-
To start, you'll need at least an
Original Width,Original Heightand a number ofPanelsbefore the elevation can be previewed. Once there's a preview, the other tool tabs will become available.- Refine the elevation using the tool tabs until it matches your drawing set. See the tool tabs under Drawing Elevations for more details.
-
-
Create new elevations by clicking
Job>New Elevationin the main menu, or pressCtrl+N. -
Continue creating and drawing elevations until you have all the ones you need.
3. Review Parts Lists and Pricing
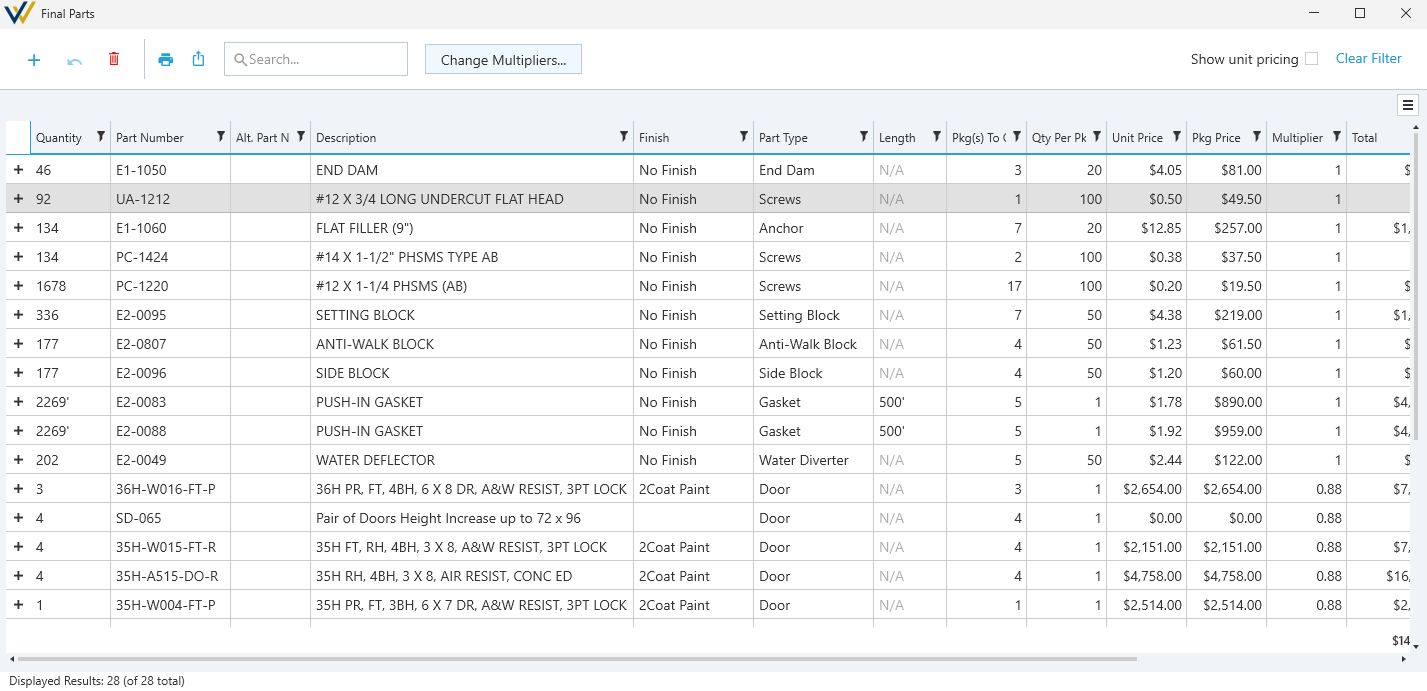
As you draw your elevations, your parts lists and totals are being updated automatically. The next step is to review and refine these lists to Finalize Your Estimate.
You can find these summaries, and your estimate settings, in the top half of Reports in the main menu. These are shown with black icons.
-
Review the results and set markups and labor rules to refine your estimate as needed.
-
Once you're comfortable with your elevations and your reports, you're ready to export.
4. Export the Job
-
Export your outputs as needed.
- Exports fall under two categories, printed reports and shop drawings:
Printed Reports
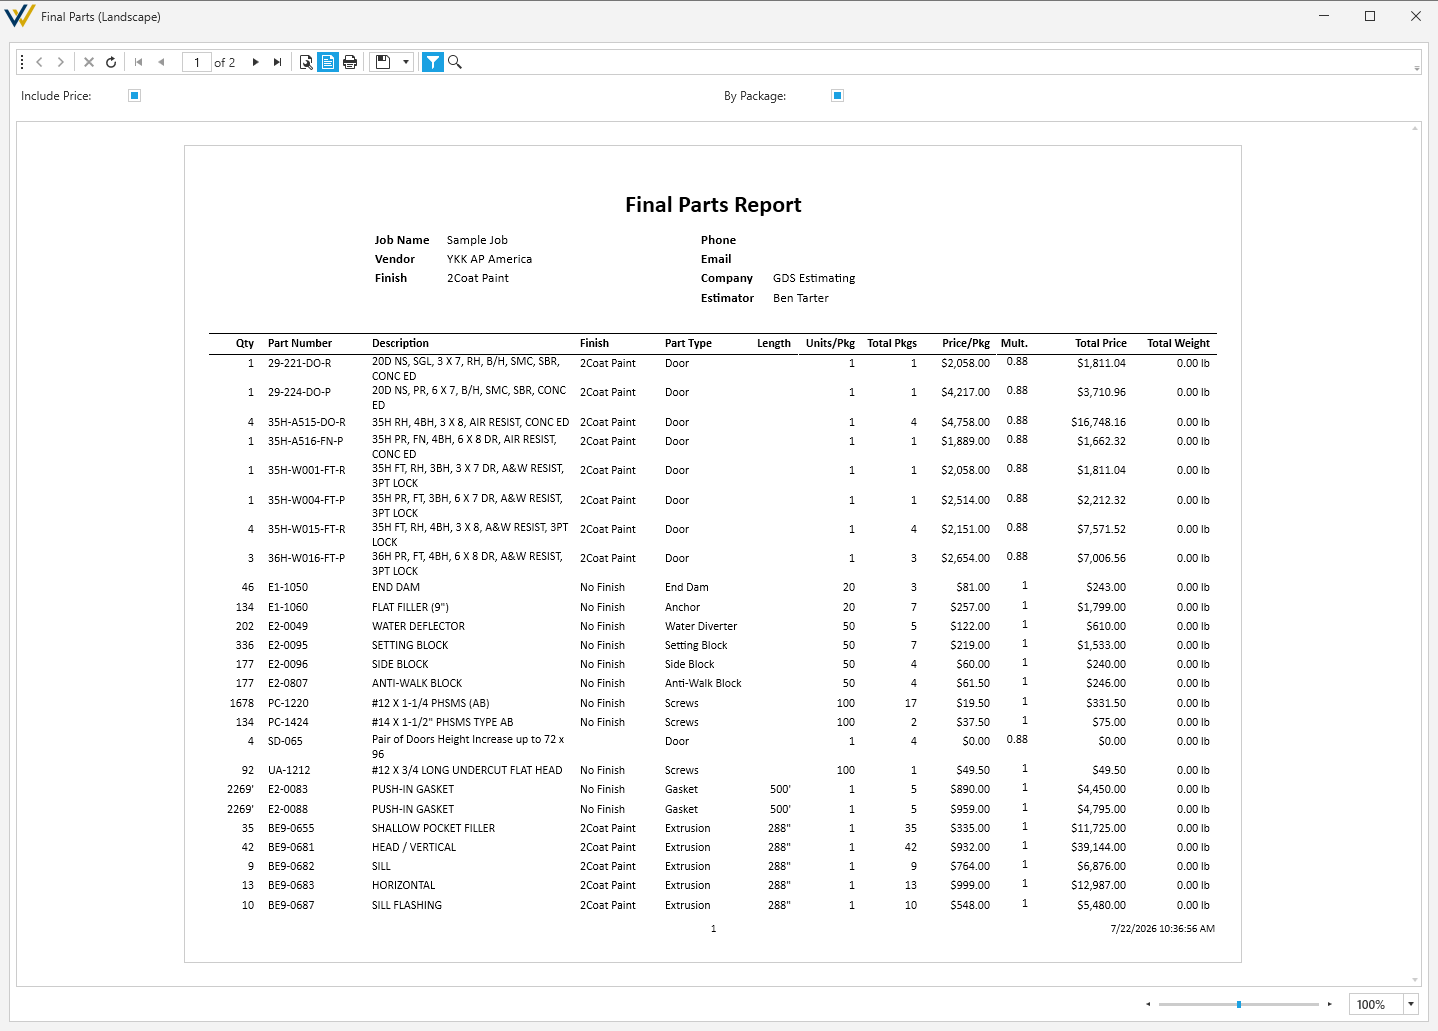
You can find printed reports under the Reports menu. Printed reports are shown with green icon.
These cover your lists, spreadsheets, labels and job summaries to be shared outside of WinBidPro.
Shop Drawings
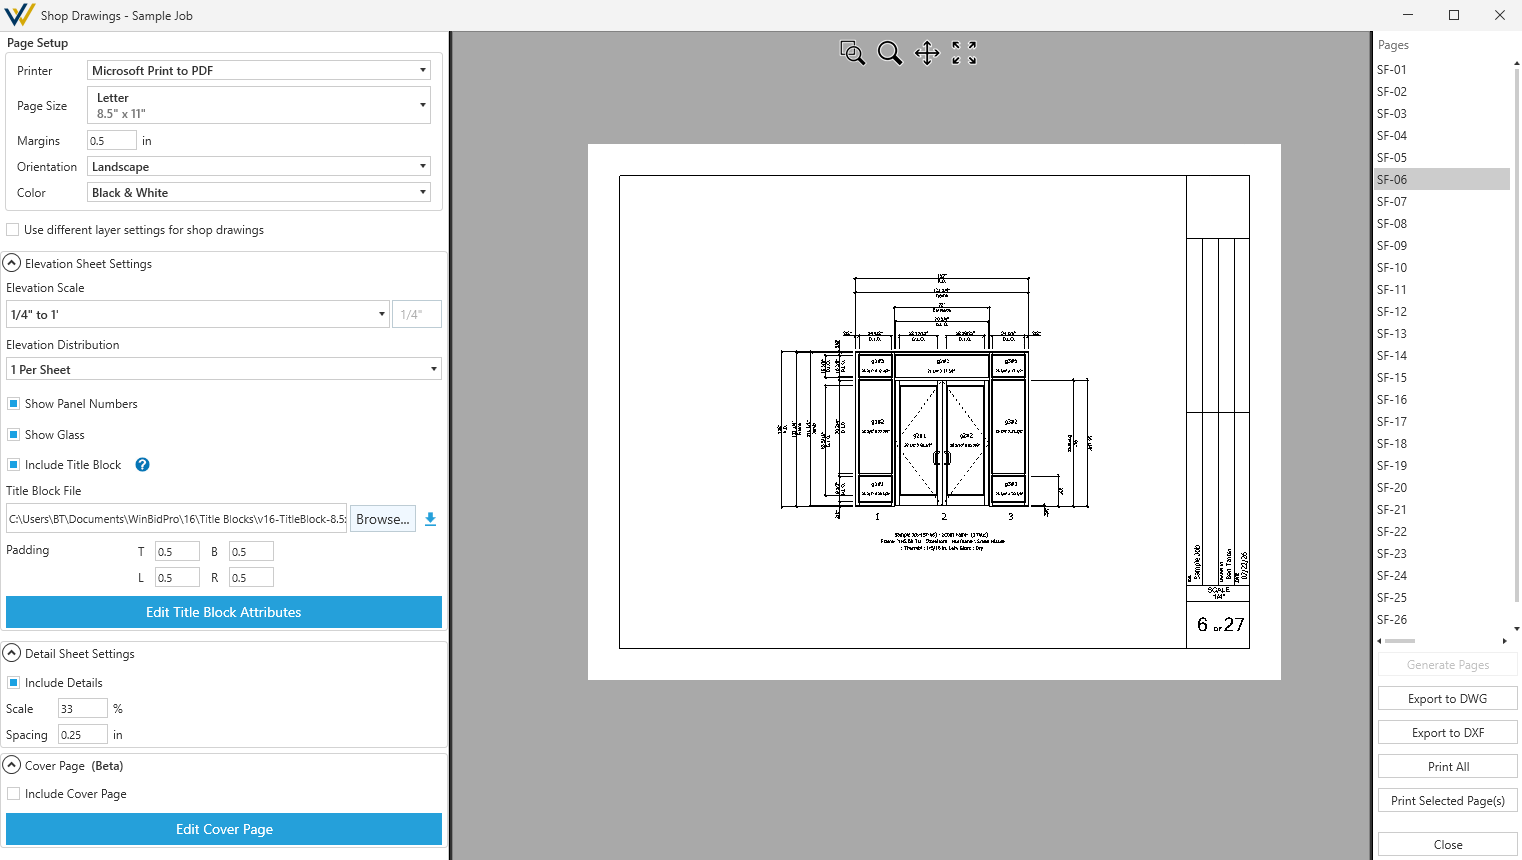
Click Drawings in the main menu to find options related to shop drawings:
Here you can configure a cover page and generate shop drawings with a configurable title block. Generated shop drawings will include each of your elevations, and any details included in the configured framing system(s).
Once the drawings are generated, you can also export them to .DWG or .DXF files for use in CAD programs.