Cover Page Feature Guide
Introduction
The Cover Page feature in WinBidPro allows you to add a professional, customizable cover sheet to your shop drawing sets. Cover pages can include project details, logos, and other key information, making your submittals look polished and consistent.
Navigation: Accessing the Cover Page Editor
Navigate to the Cover Page Editor through the Drawings menu item click Cover Page....
Screenshot Showing Location
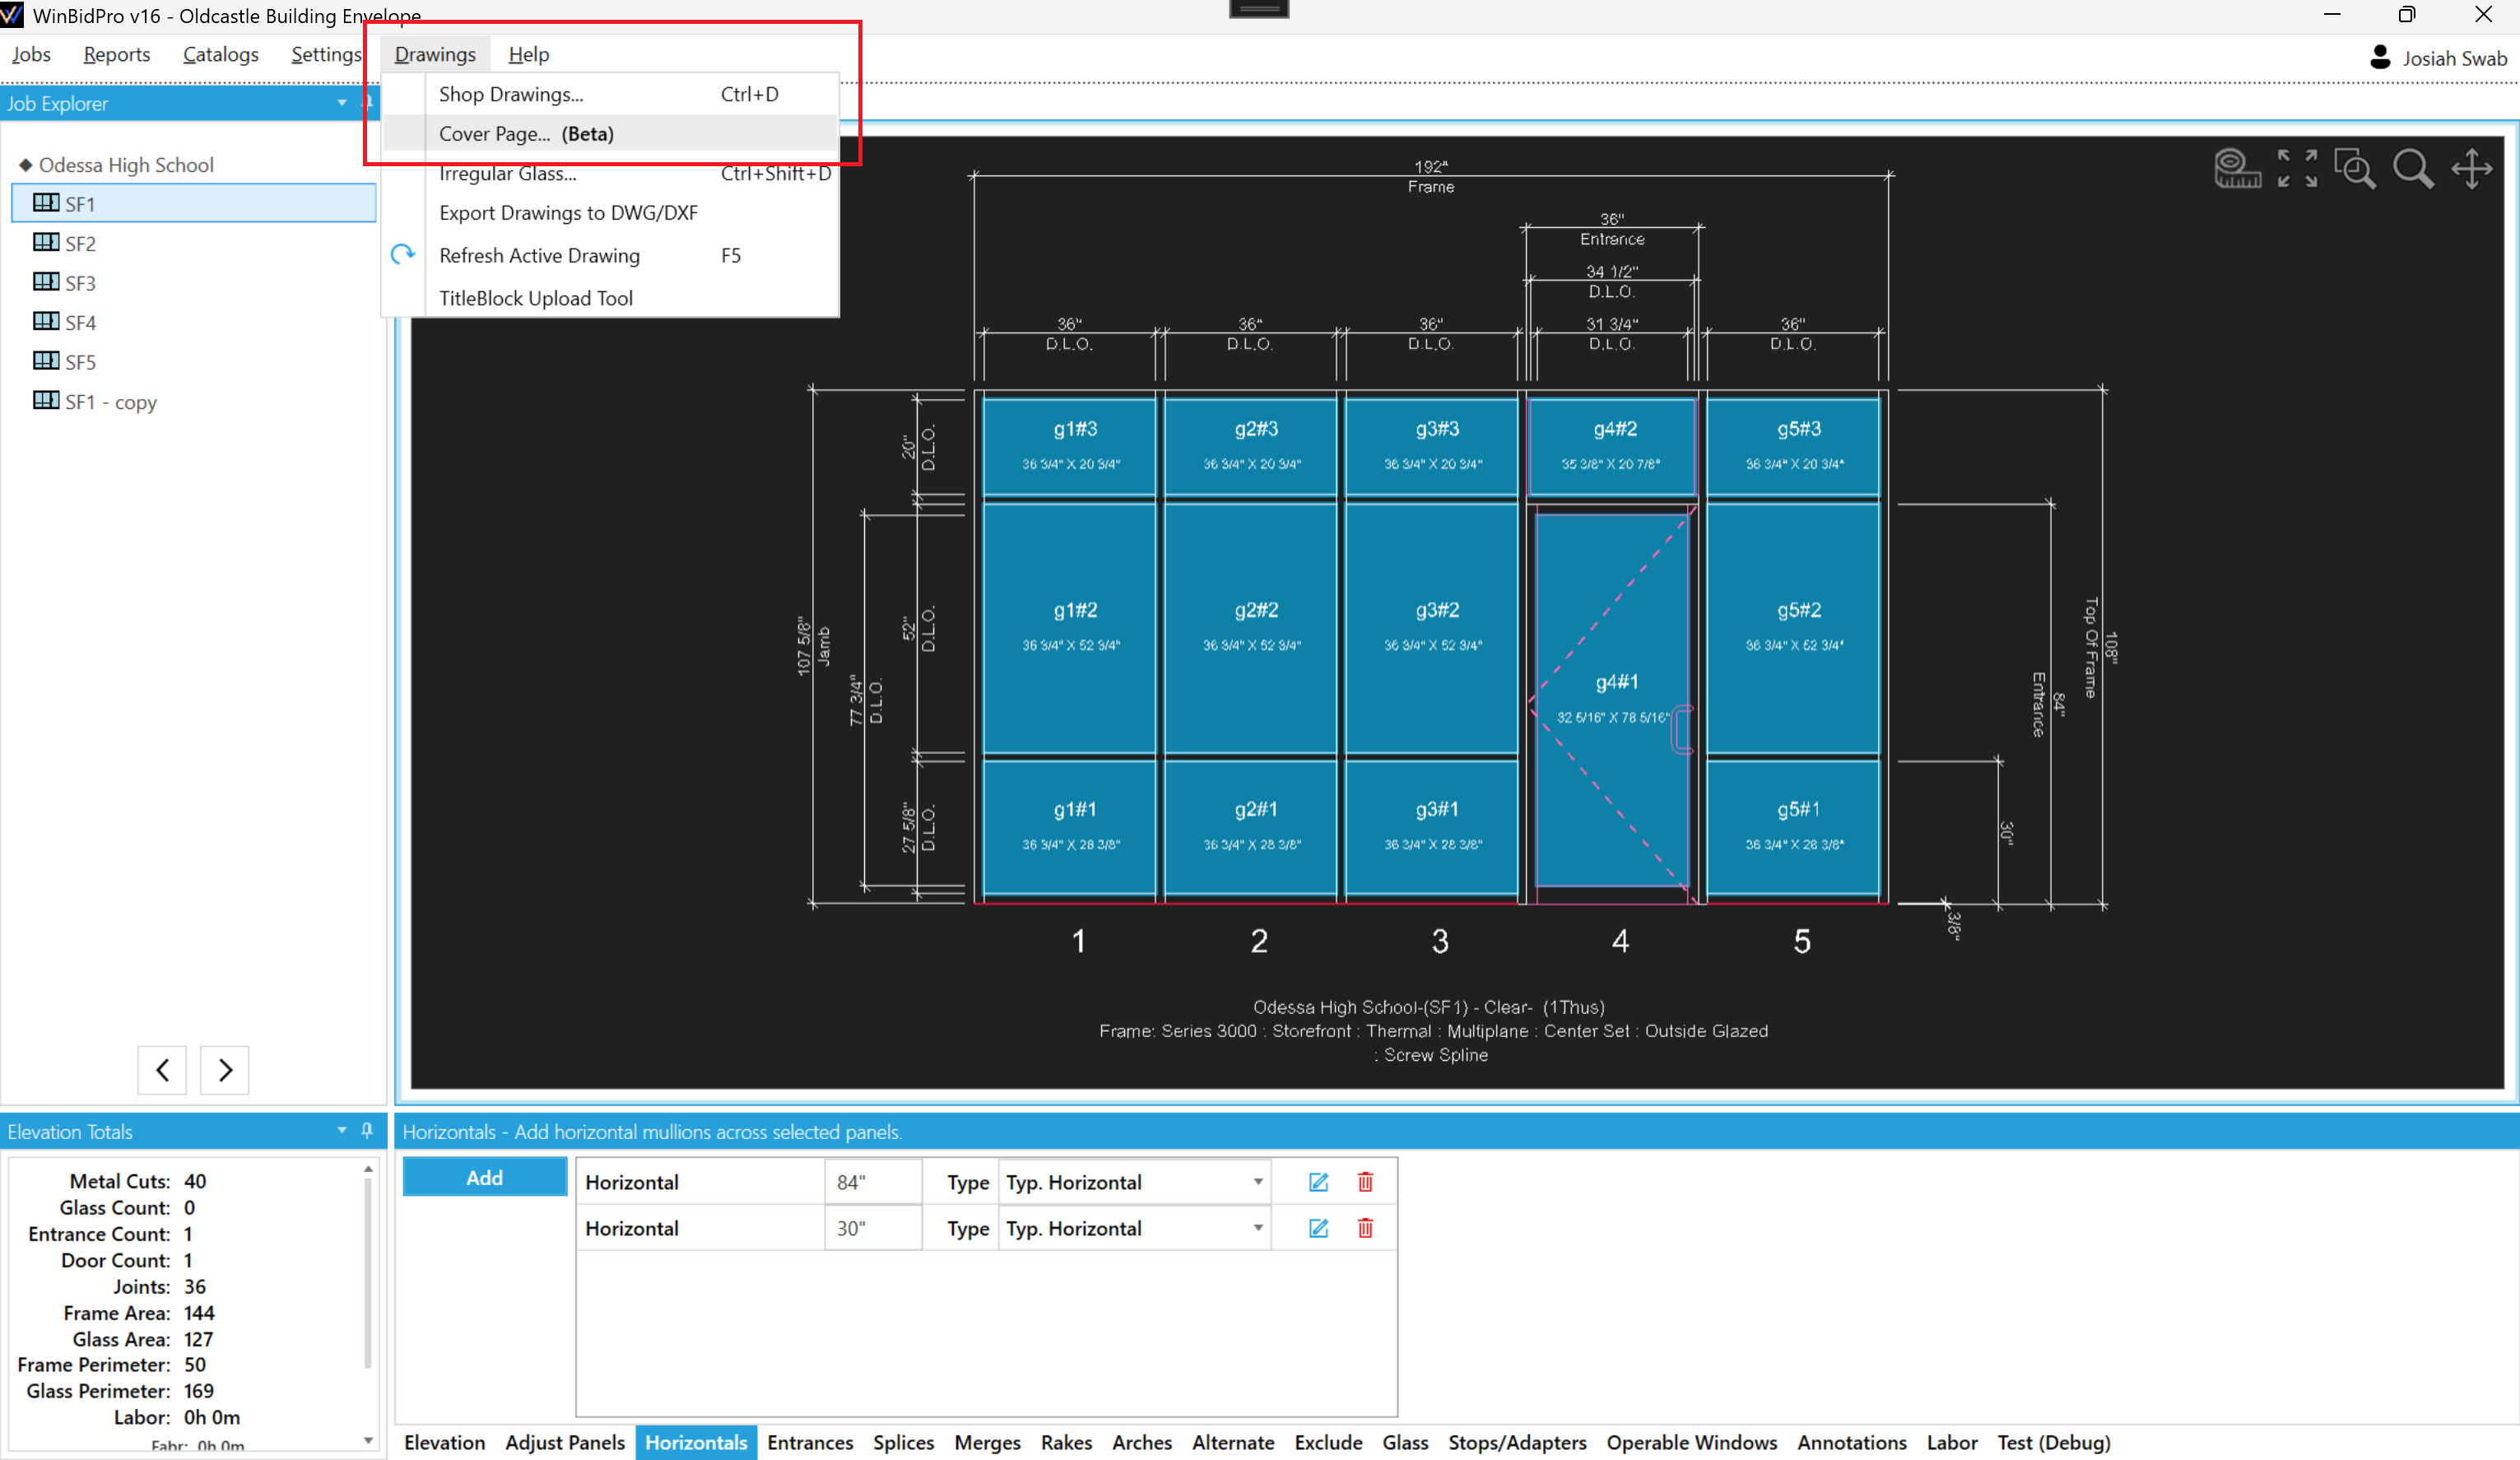 Figure: Navigation to the Cover Page Editor
Cover Page Overview
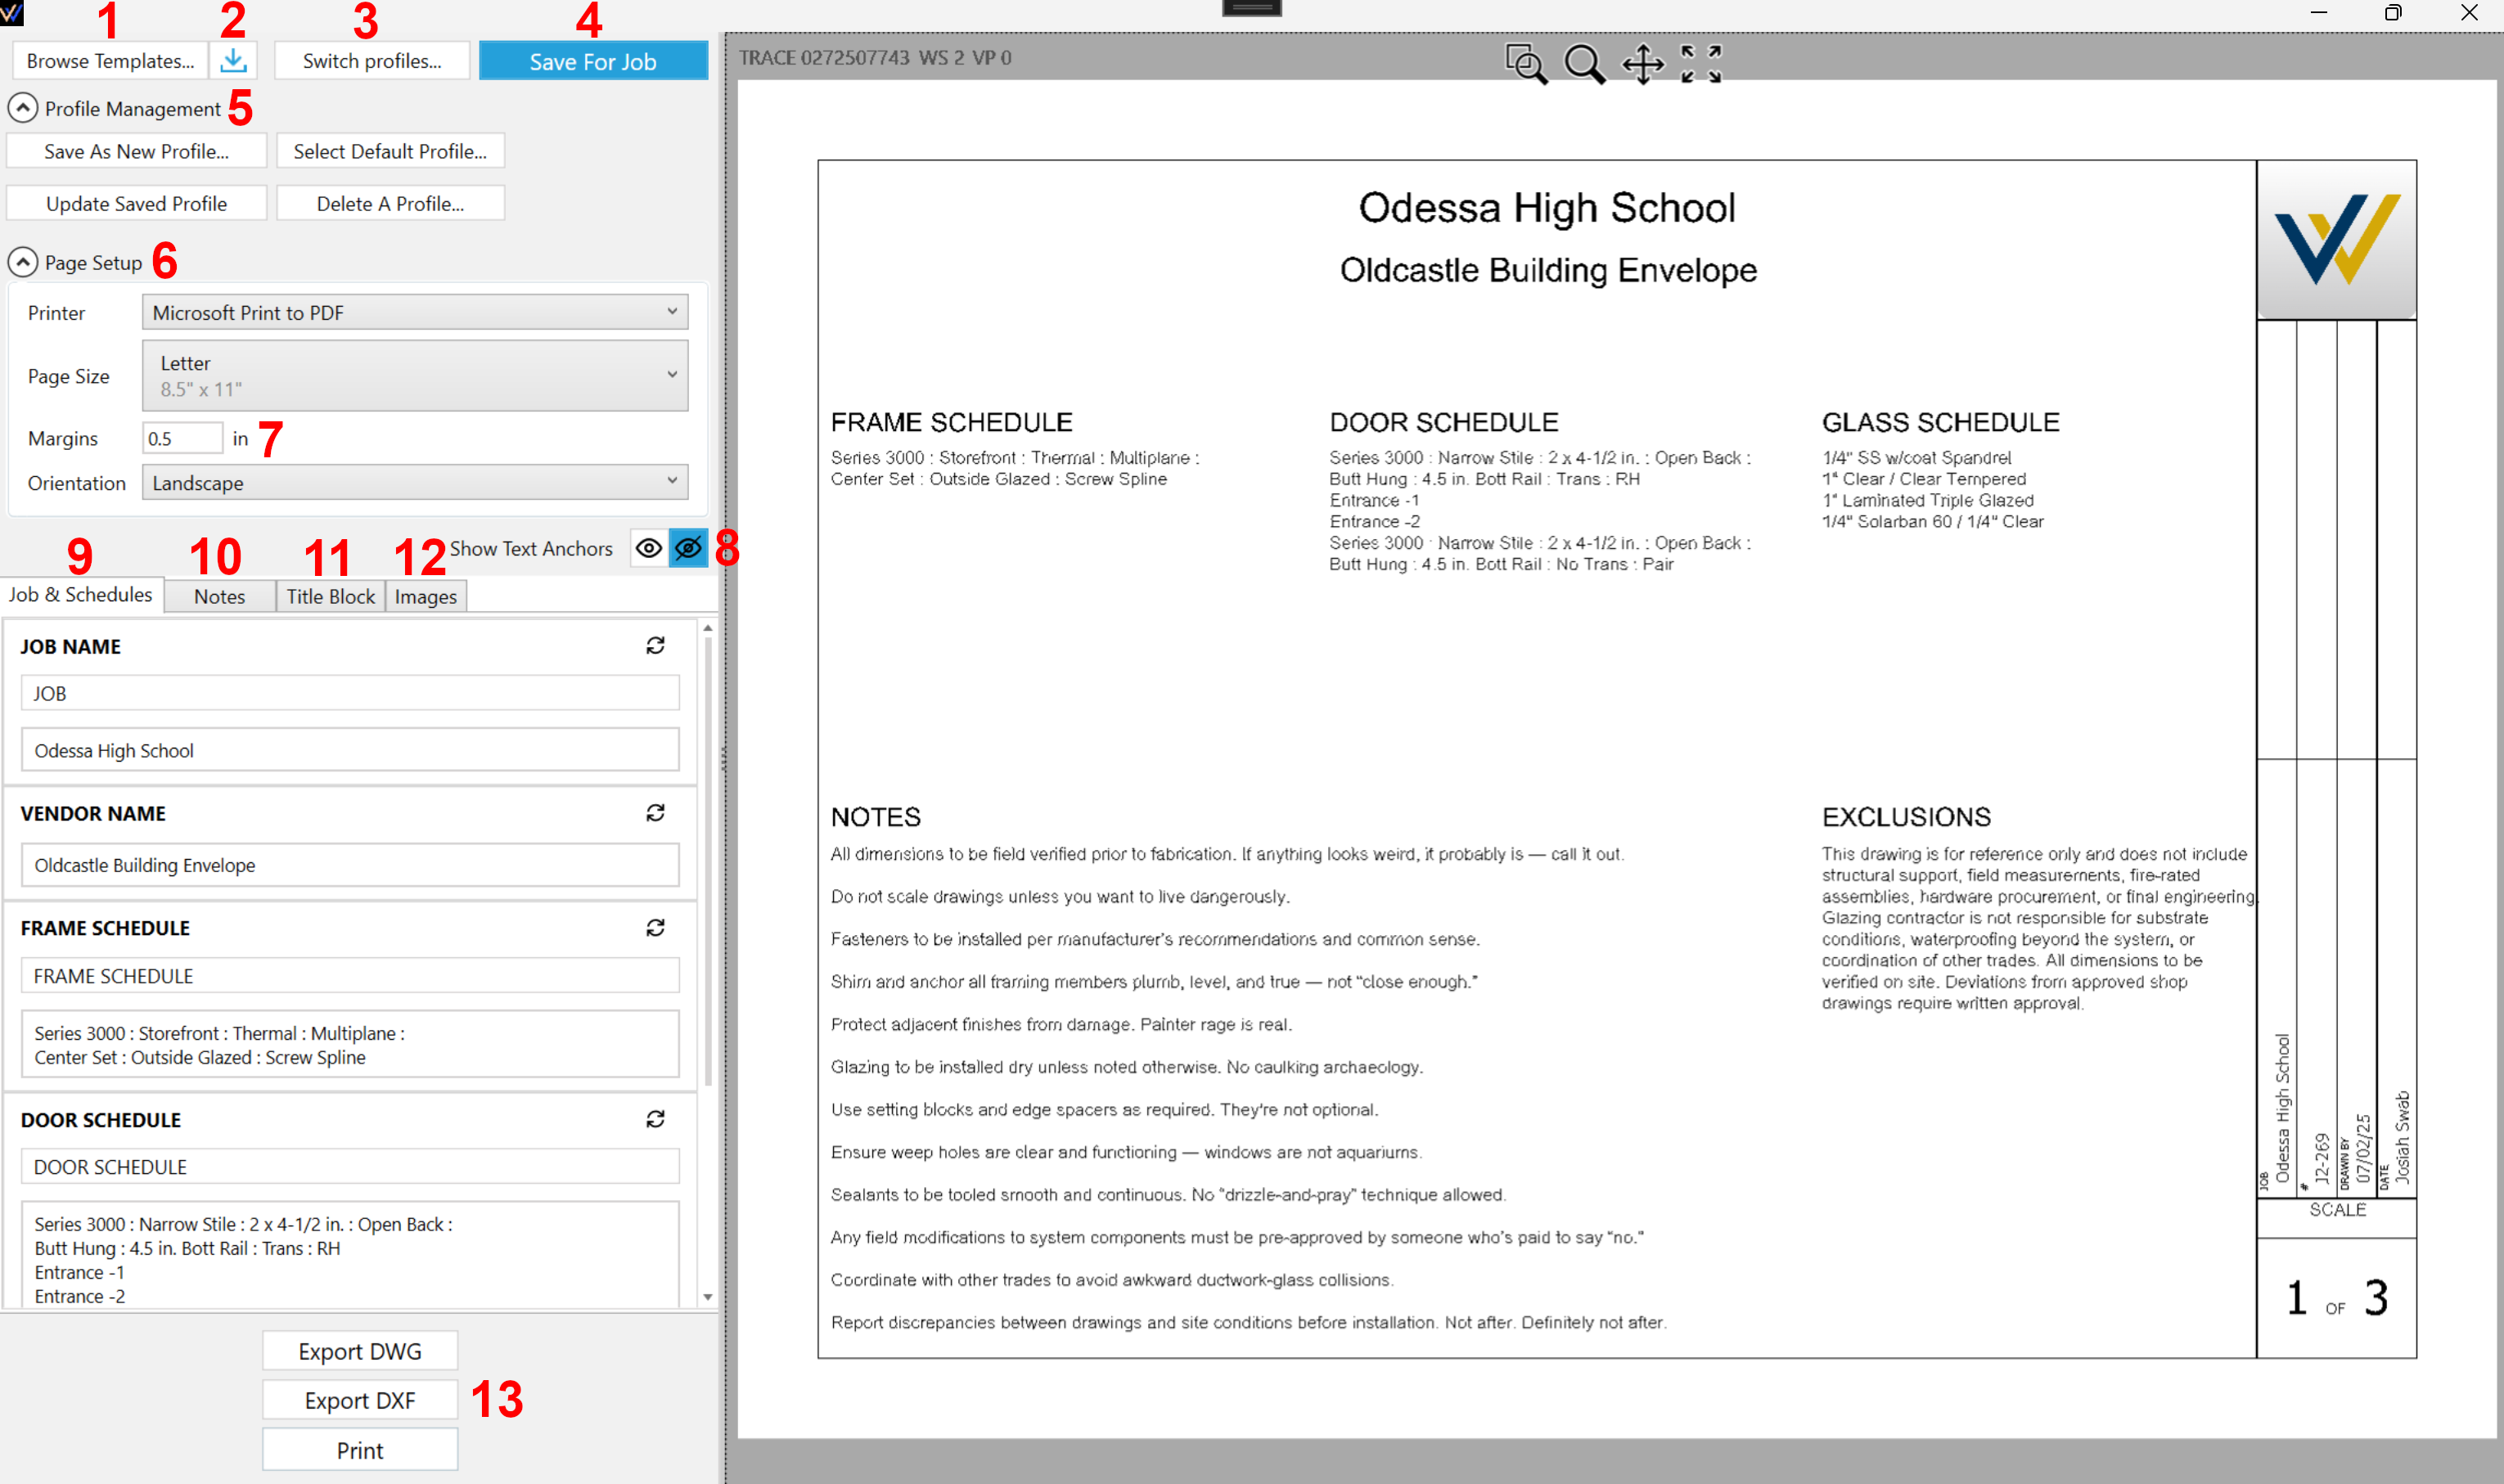
1. Browse Templates...
Opens a file explorer to select a DWG or DXF file to be used as a template dictating where the text and image elements are displayed.
2. Download Templates
A manual download button that adds any missing templates from our server missing from your local documents.
3. Switch Profiles...
Opens a dropdown where you can select an already saved profile to switch to.
4. Save For Job
Saves the current profile state to the job.
5. Profile Management
Profiles let you save and reuse cover page settings across jobs. Currently they are a part of the users settings as not accessible by other users.
Save As New Profile...Save the current state minus the job specific data to a new profile.Select Default Profile...Choose a saved profile that will be used as default for new jobs on open.Update Saved ProfilePrompts to confirm that you want to update the profile in question.Delete A Profile...Delete a saved profile.
Job and Schedules tab information is not saved to cover page profiles. Only Notes, Title Block, and Images are preserved.
6. Page Setup
Contains printer specific settings saved to the cover page profile.
7. Margins
Push the template entities up and to the right. In this screenshot the margin is highlighted in yellow and the black is the template border.
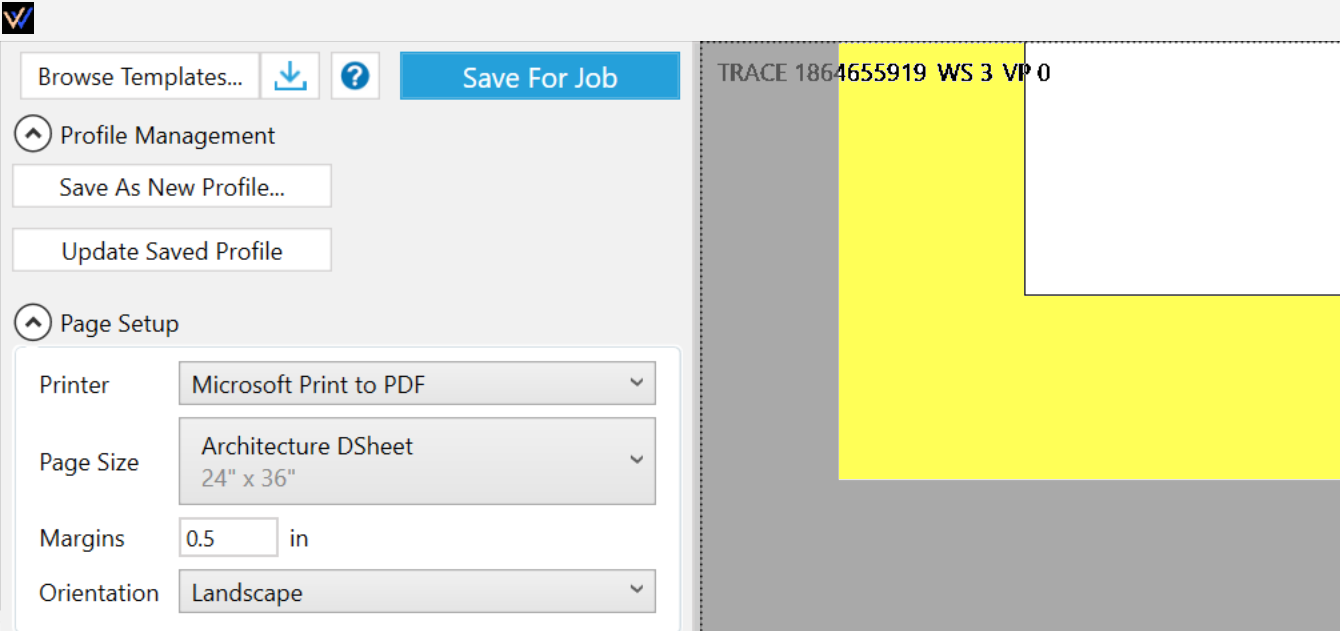
The v16 templates are designed to have a 0.5in margin.
8. Show Text Anchors
Enable this toggle button to view the template anchors in pink.
 Figure 2: Cover Page View with anchors displayed
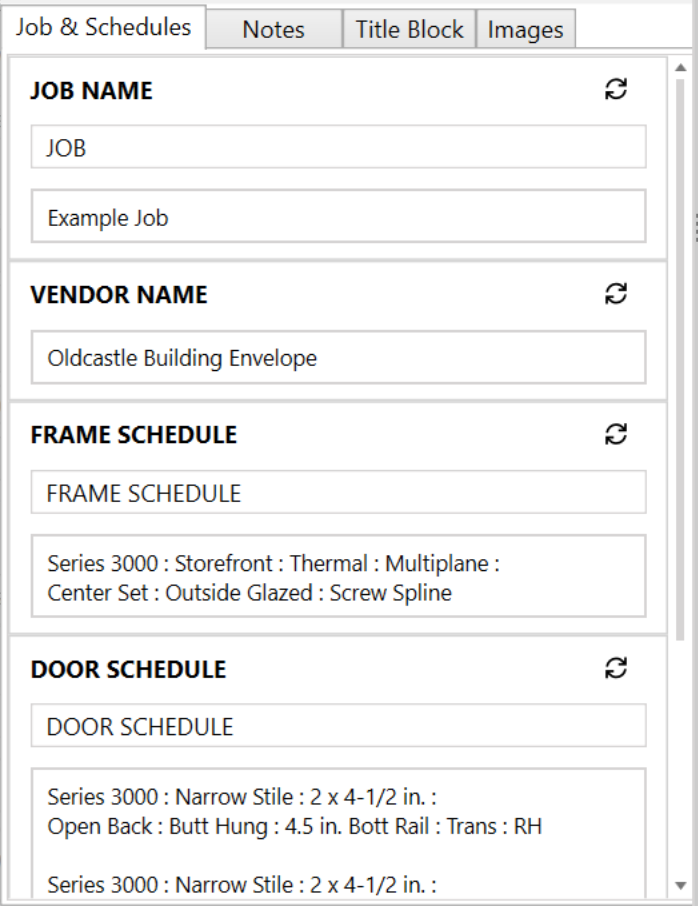
9. Job & Schedules
These fields are a part of the current jobs cover page profile and clicking the refresh button re-generates based on the jobs relevant data.
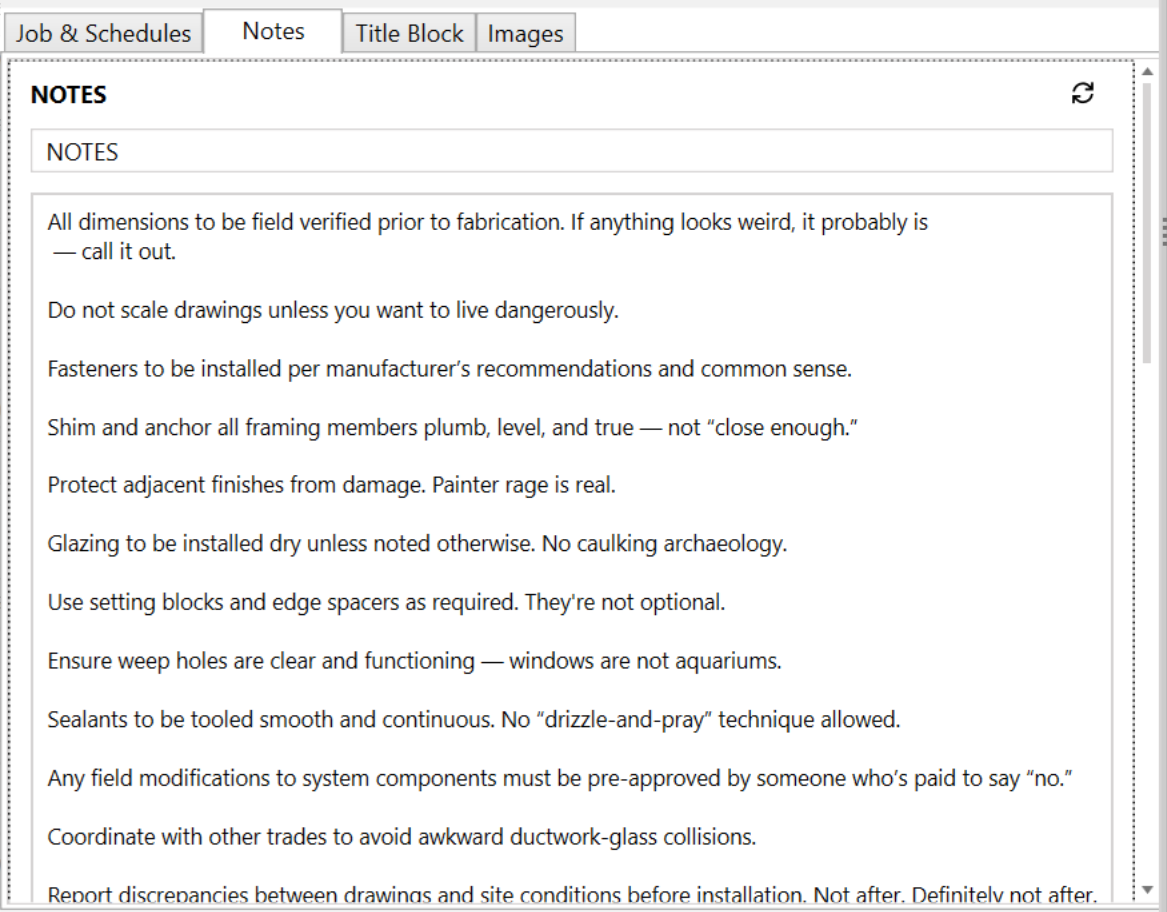
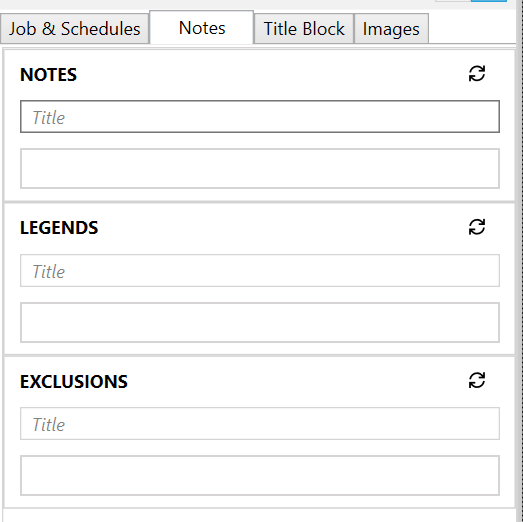
10. Notes
These fields can be save to all profiles and clicking the refresh button resets the value to its last save.
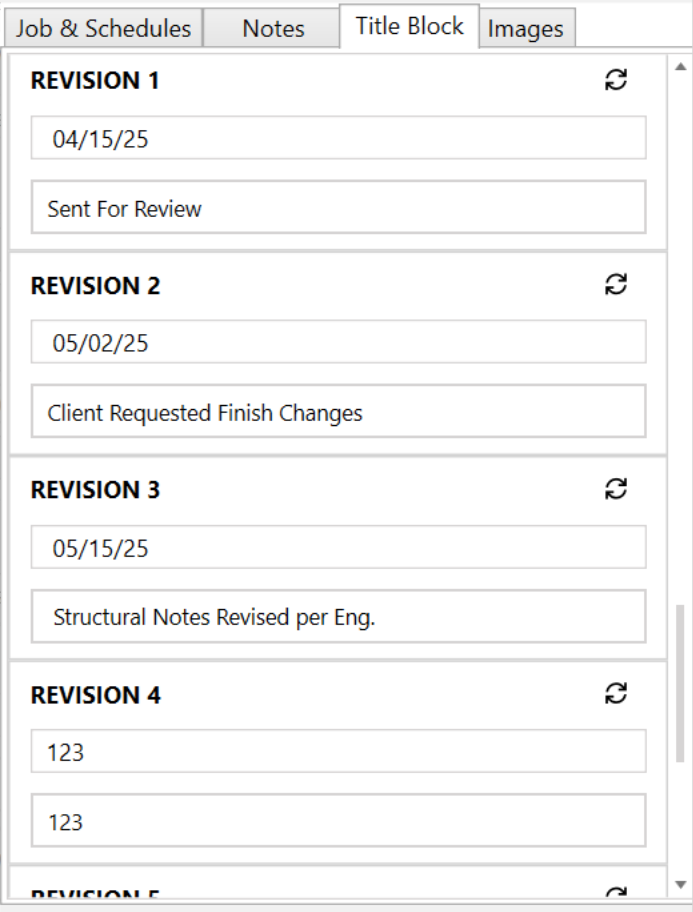
11. Title Block
These fields save to all profiles and clicking the refresh button resets the value to its last save.
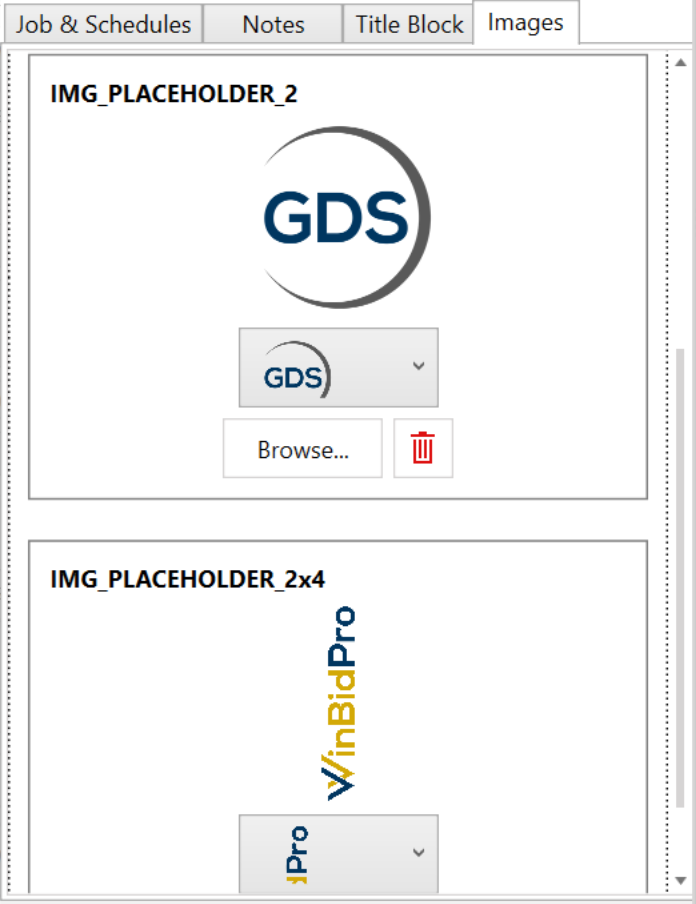
12. Images
- Image dropdowns are populated from job contacts (Contractor, Developer, Architect) and the Images folder (
Documents/WinBidPro/16/Images/). - Supported formats: JPG, JPEG, PNG (max 400KB)
- Add custom images via the Browse button
- Images not the same ratio as the IMAGE_PLACEHOLDER get stretched or shrunk to fit so editing the image to be the correct ratio could be important for the visuals.
13. Export Options.
DWG- Images are saved as resources with the DWGDXF- Images are saved as resources with the DXFPrint
Customizing Cover Page Templates
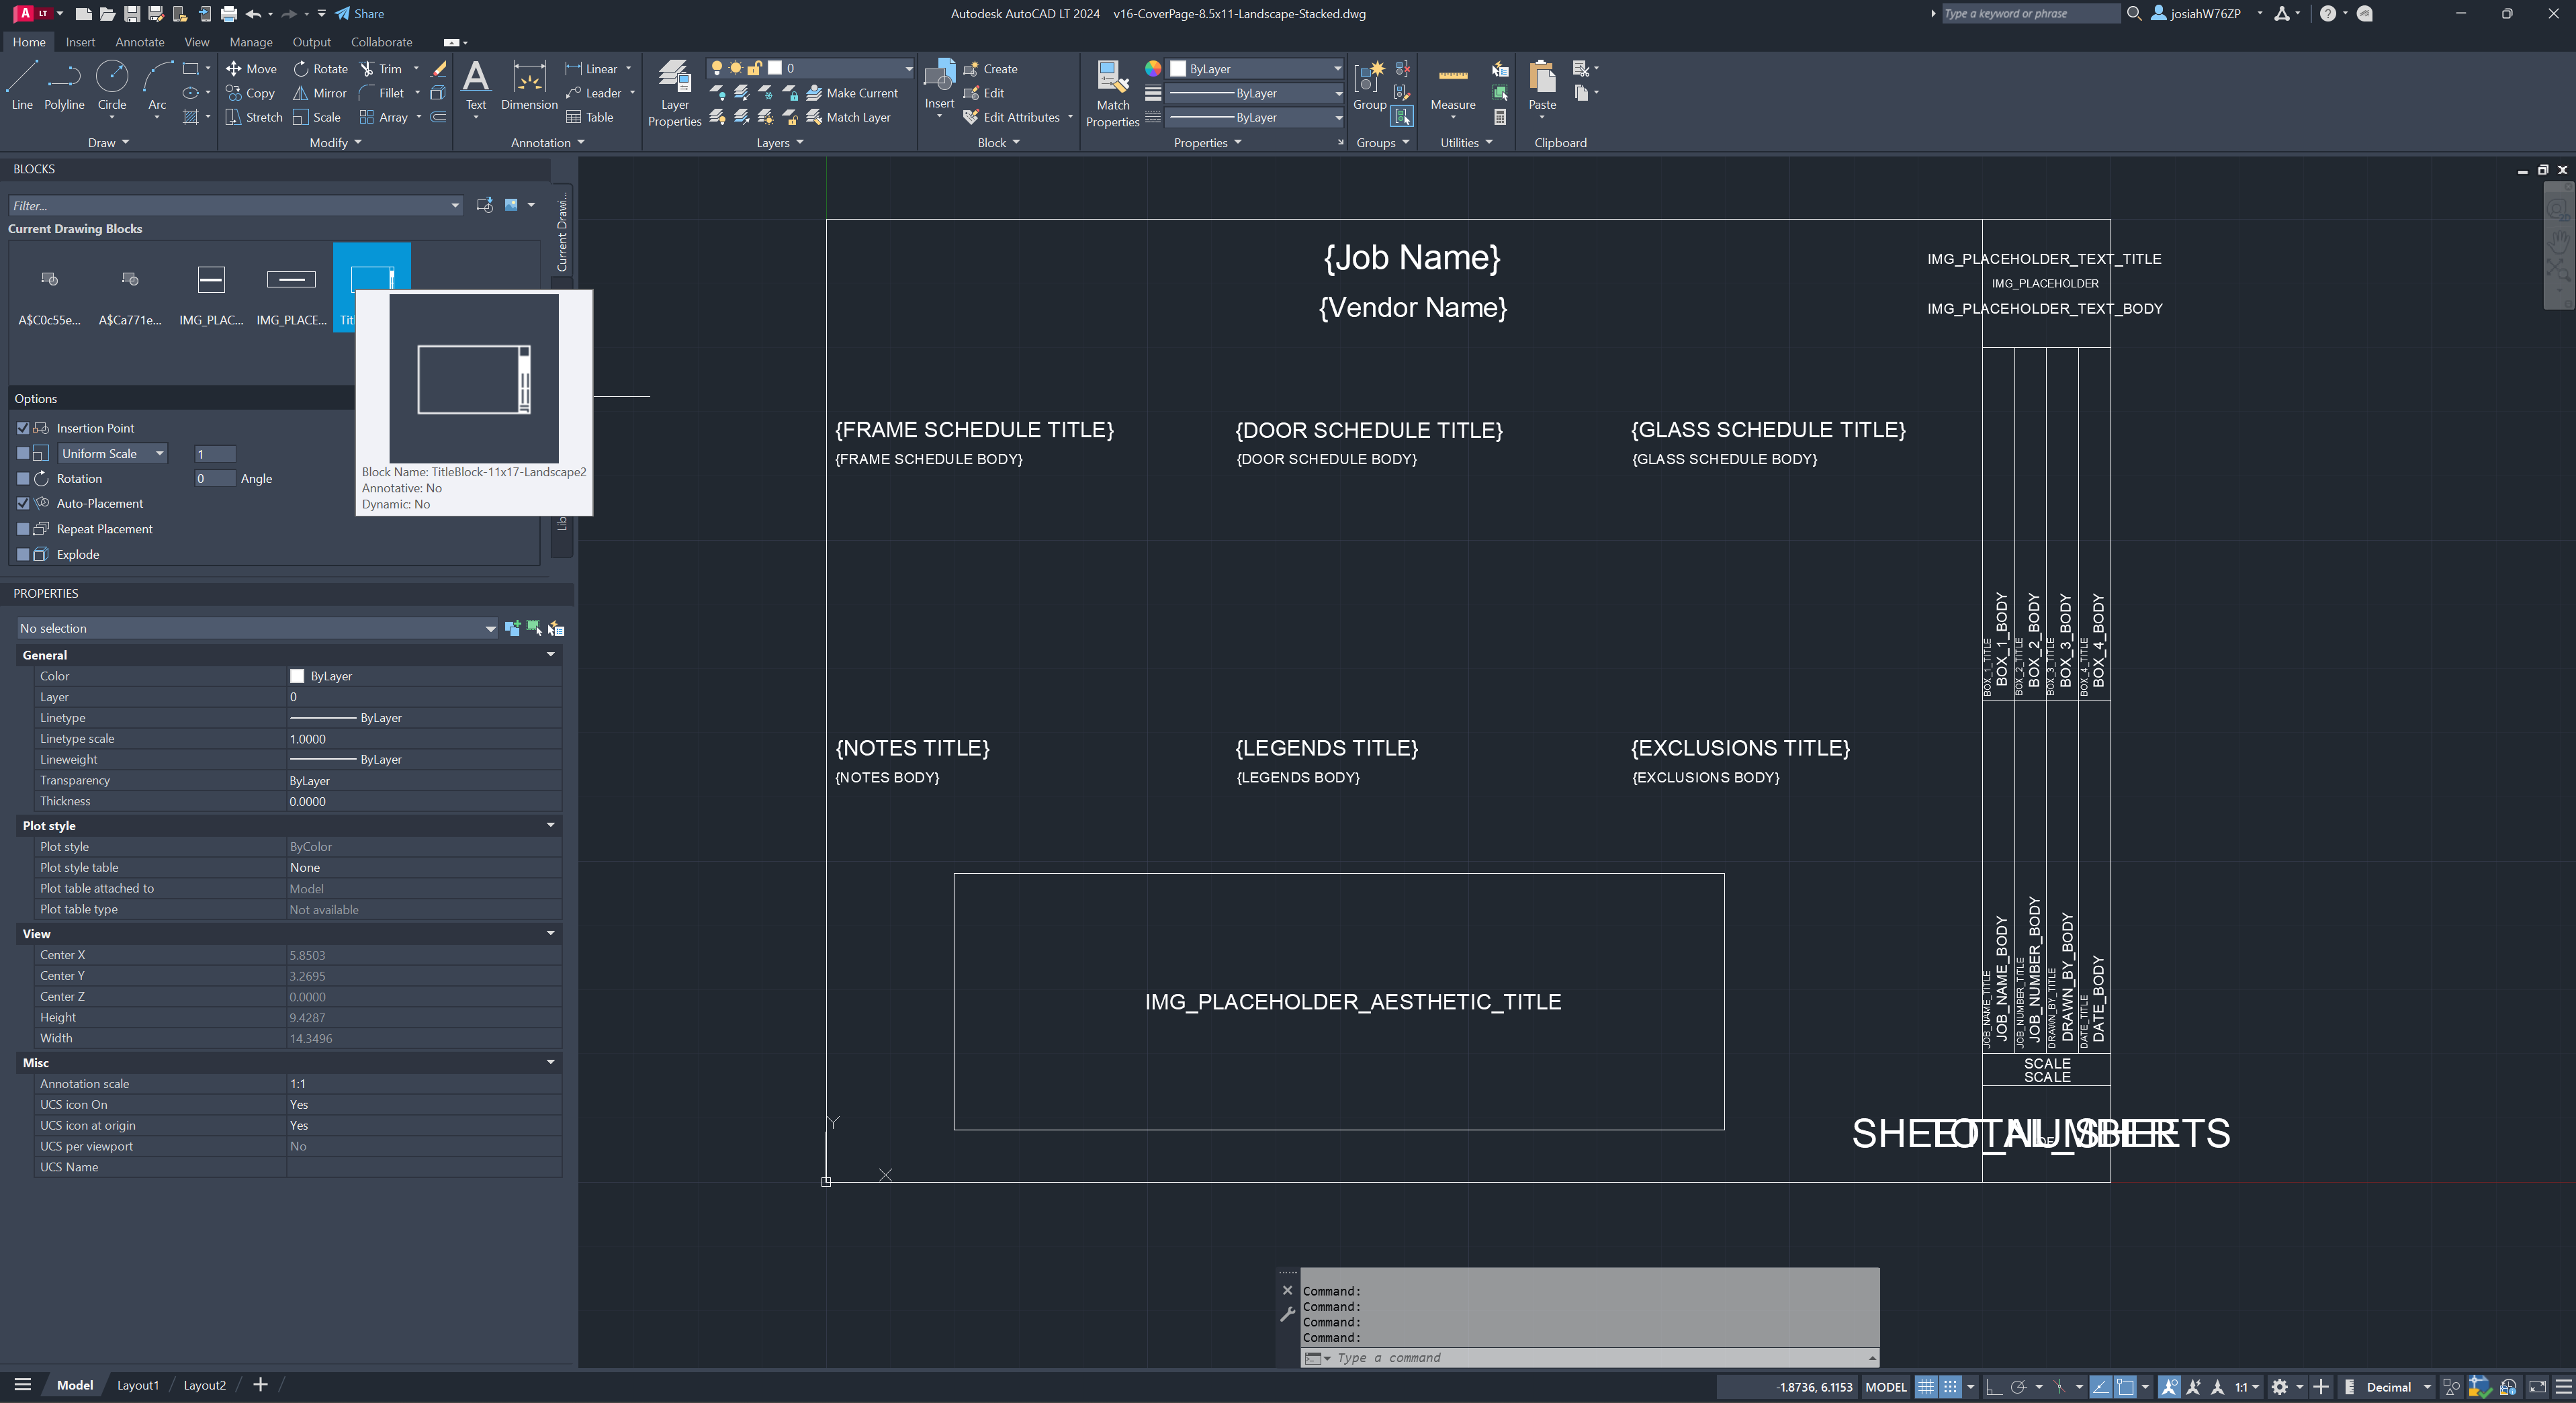
The templates are DWG files created using AutoCAD LT. These templates define the layout and anchor points for dynamic content. You can open templates in AutoCAD LT and hopefully other CAD editors to adjust anchors and layout.
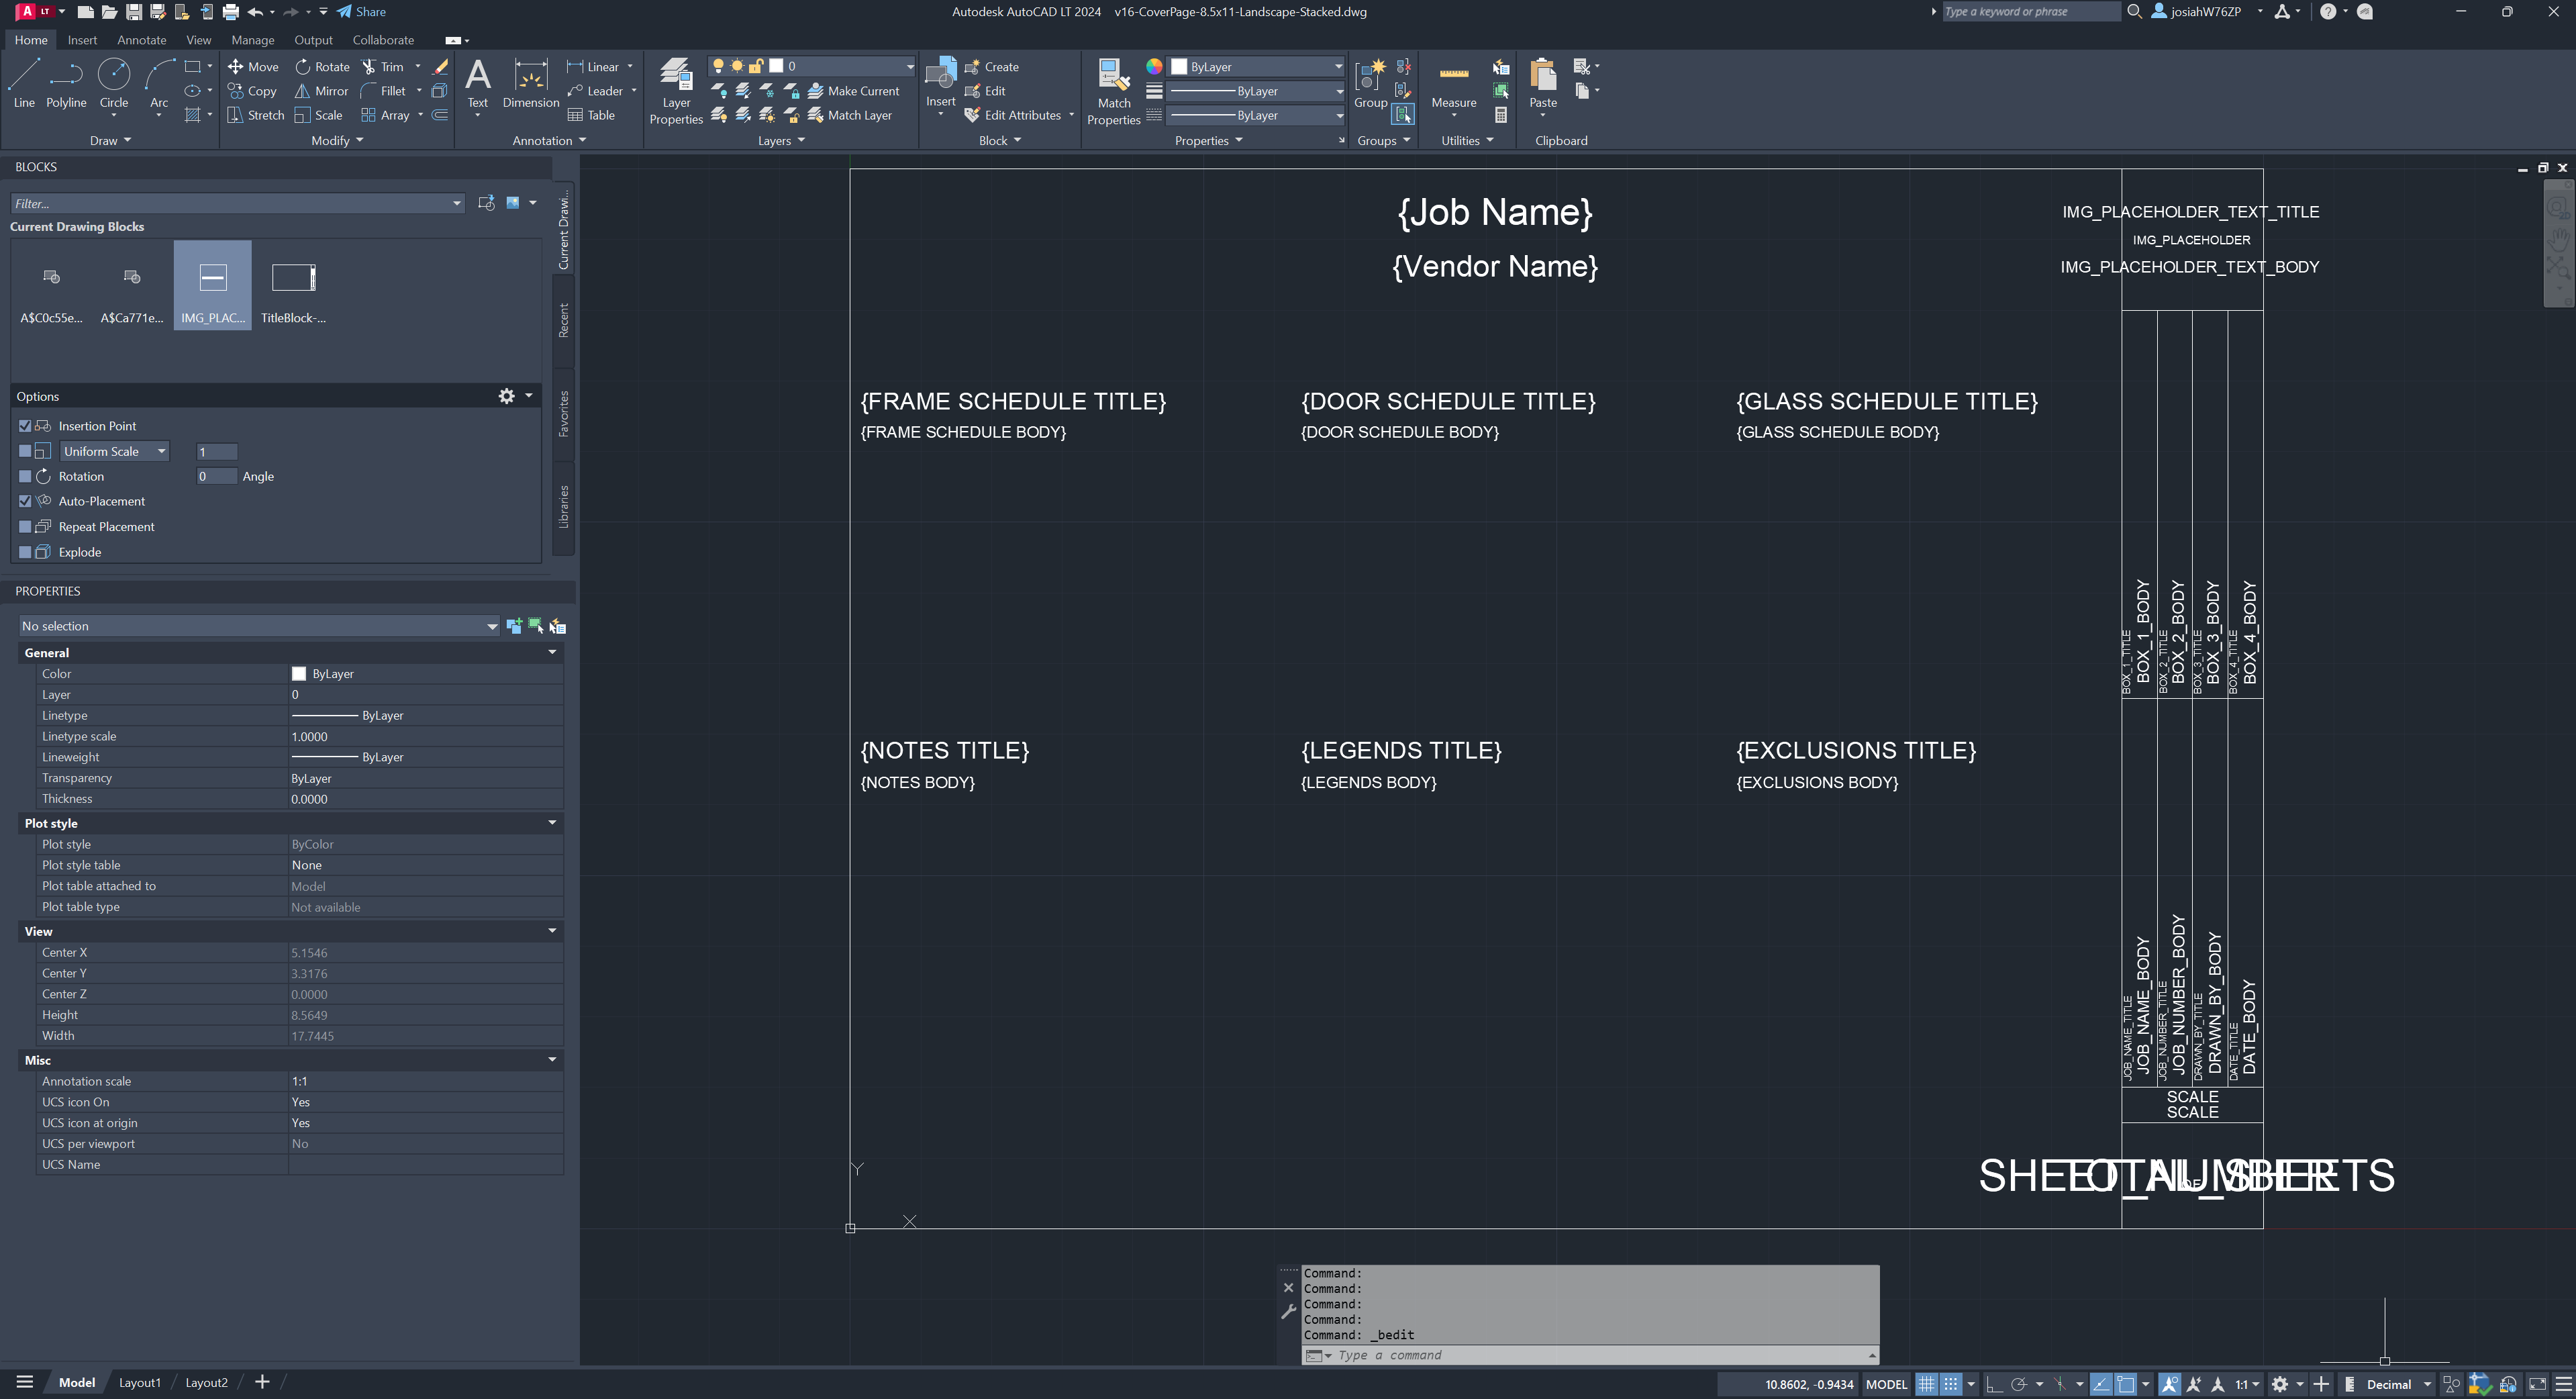 Figure 3: AutoCAD LT editor with 8.5 x 11 landscape cover page open
Entities
There are four entity types we use for dynamic content in our program.
| Type | AutoCAD Shortcut | |
|---|---|---|
| Text | TEXT | Used for Titles and static text. |
| Multiline Text | MTEXT | Used for Notes, Schedules and Titles. |
| Attribute | ATTDEF | Used in the Title Block. |
| Block Reference | 'create new block to reference' | Block reference names appear in the Images tab like IMG_PLACEHOLDER |
Schedules and Notes - Text and Multiline Text
Placing any text between curly braces will make that text discoverable as an anchor in the program. Custom anchors all appear in the Notes tab.
Title Block - Attributes
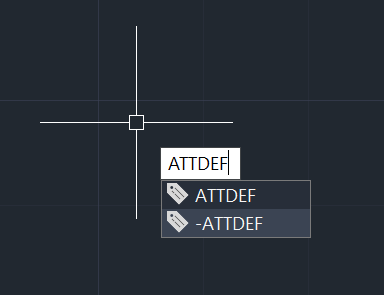
The creation of an attribute is slightly more complicated. First we start with by typing the new attribute command in the model window.
The Tag is the visible anchor in the Title Block tab. No spaces are allowed so we simulate them with underscores "_".
After clicking okay you will be prompted to place the attribute into the model.
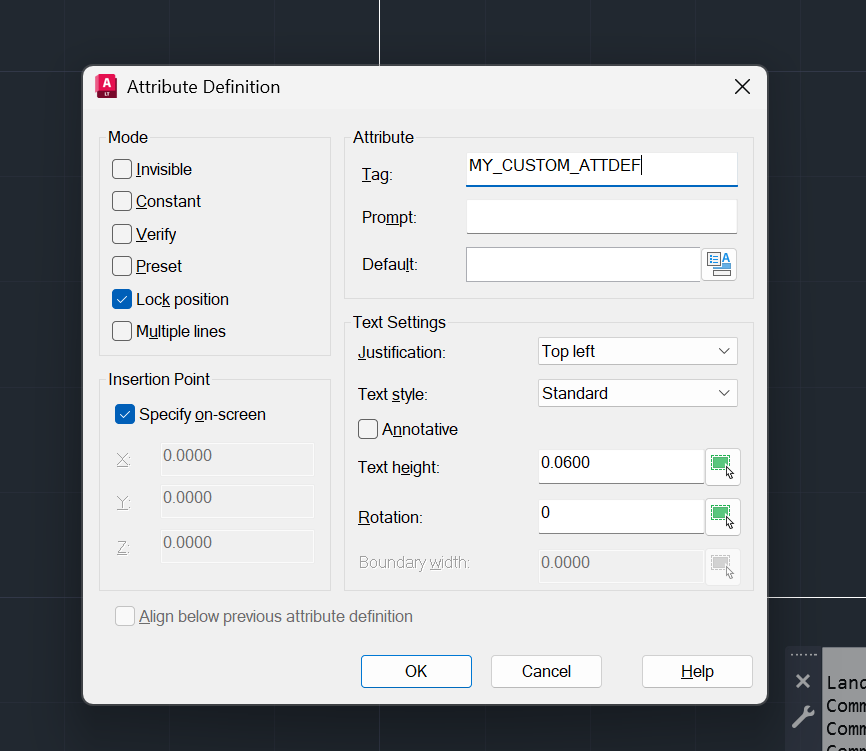
Preferably for smoother DWG and DXF exports from inside WinBidPro attribute justification should be set to Top Left, Middle, or Right. You can disregard if you do not export DWG DXF.
Title and Body Pairing
If two anchors share a string but end with alternating TITLE and BODY the cover page UI combines those into one list item.

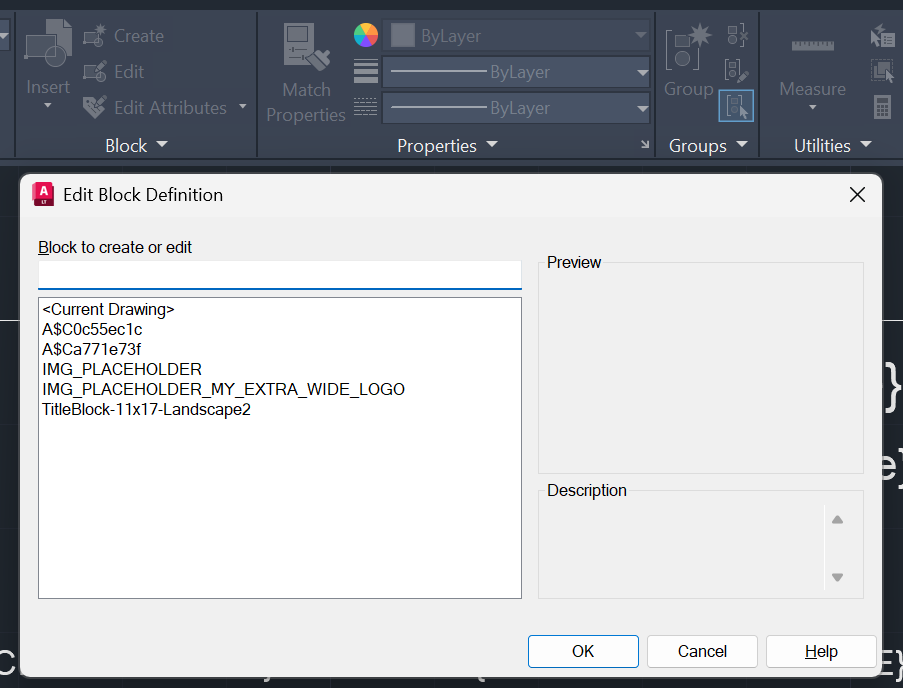
Create/Edit Custom Image Blocks
AutoCAD LT does not have the ability to embed images fully into the dwg file instead referencing an external resource. To create a space in the DWG that can be replaced with an image in the program we create a block with the dimensions and characteristics we desire. Then in WinBidPro when an image is uploaded the block is replaced by the image.
OVERVIEW OF CREATING A CUSTOM IMAGE_PLACHOLDER
To create a custom image placeholder.
- We use AutoCAD LT and create a block with a name like IMG_PLACEHOLDER_WHAT_YOU_WANT The key here is that the program is looking for the IMG_PLACEHOLDER part of the block name to discover image blocks.
- Next create a rectangle of the desired image height/ratio.
- Then add some text with the block name at the center of the block. This is a superfluous and only here for us to see where the Image Anchors exist when
Show Text Anchorsis true. - Place a block reference in the model where desired and remember to not rotate the block element rather instead if necessary resize the original or new block.
- Save and close and try opening the file in WinBidProV16
In Detail
- Create a new block the name must start with IMG_PLACEHOLDER to be found by WinBidPro and must be uniquely named.

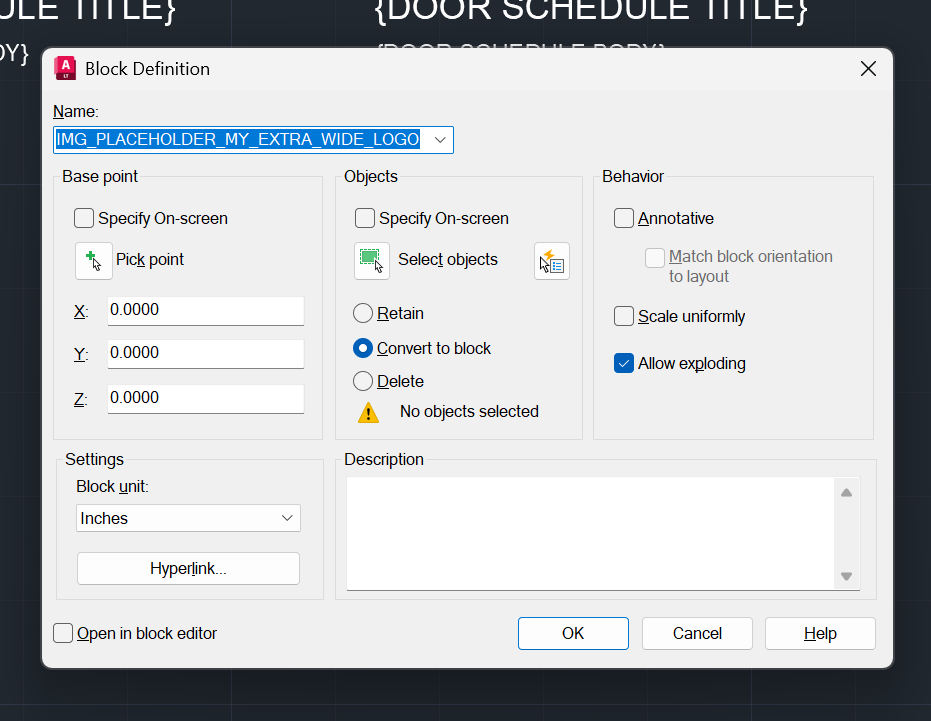
- I do not select any entities instead clicking
Continuethen edit the freshly created block.
- Here I add a rectangle and some text to identify the block. The Image size will be the bounding box the block creates.
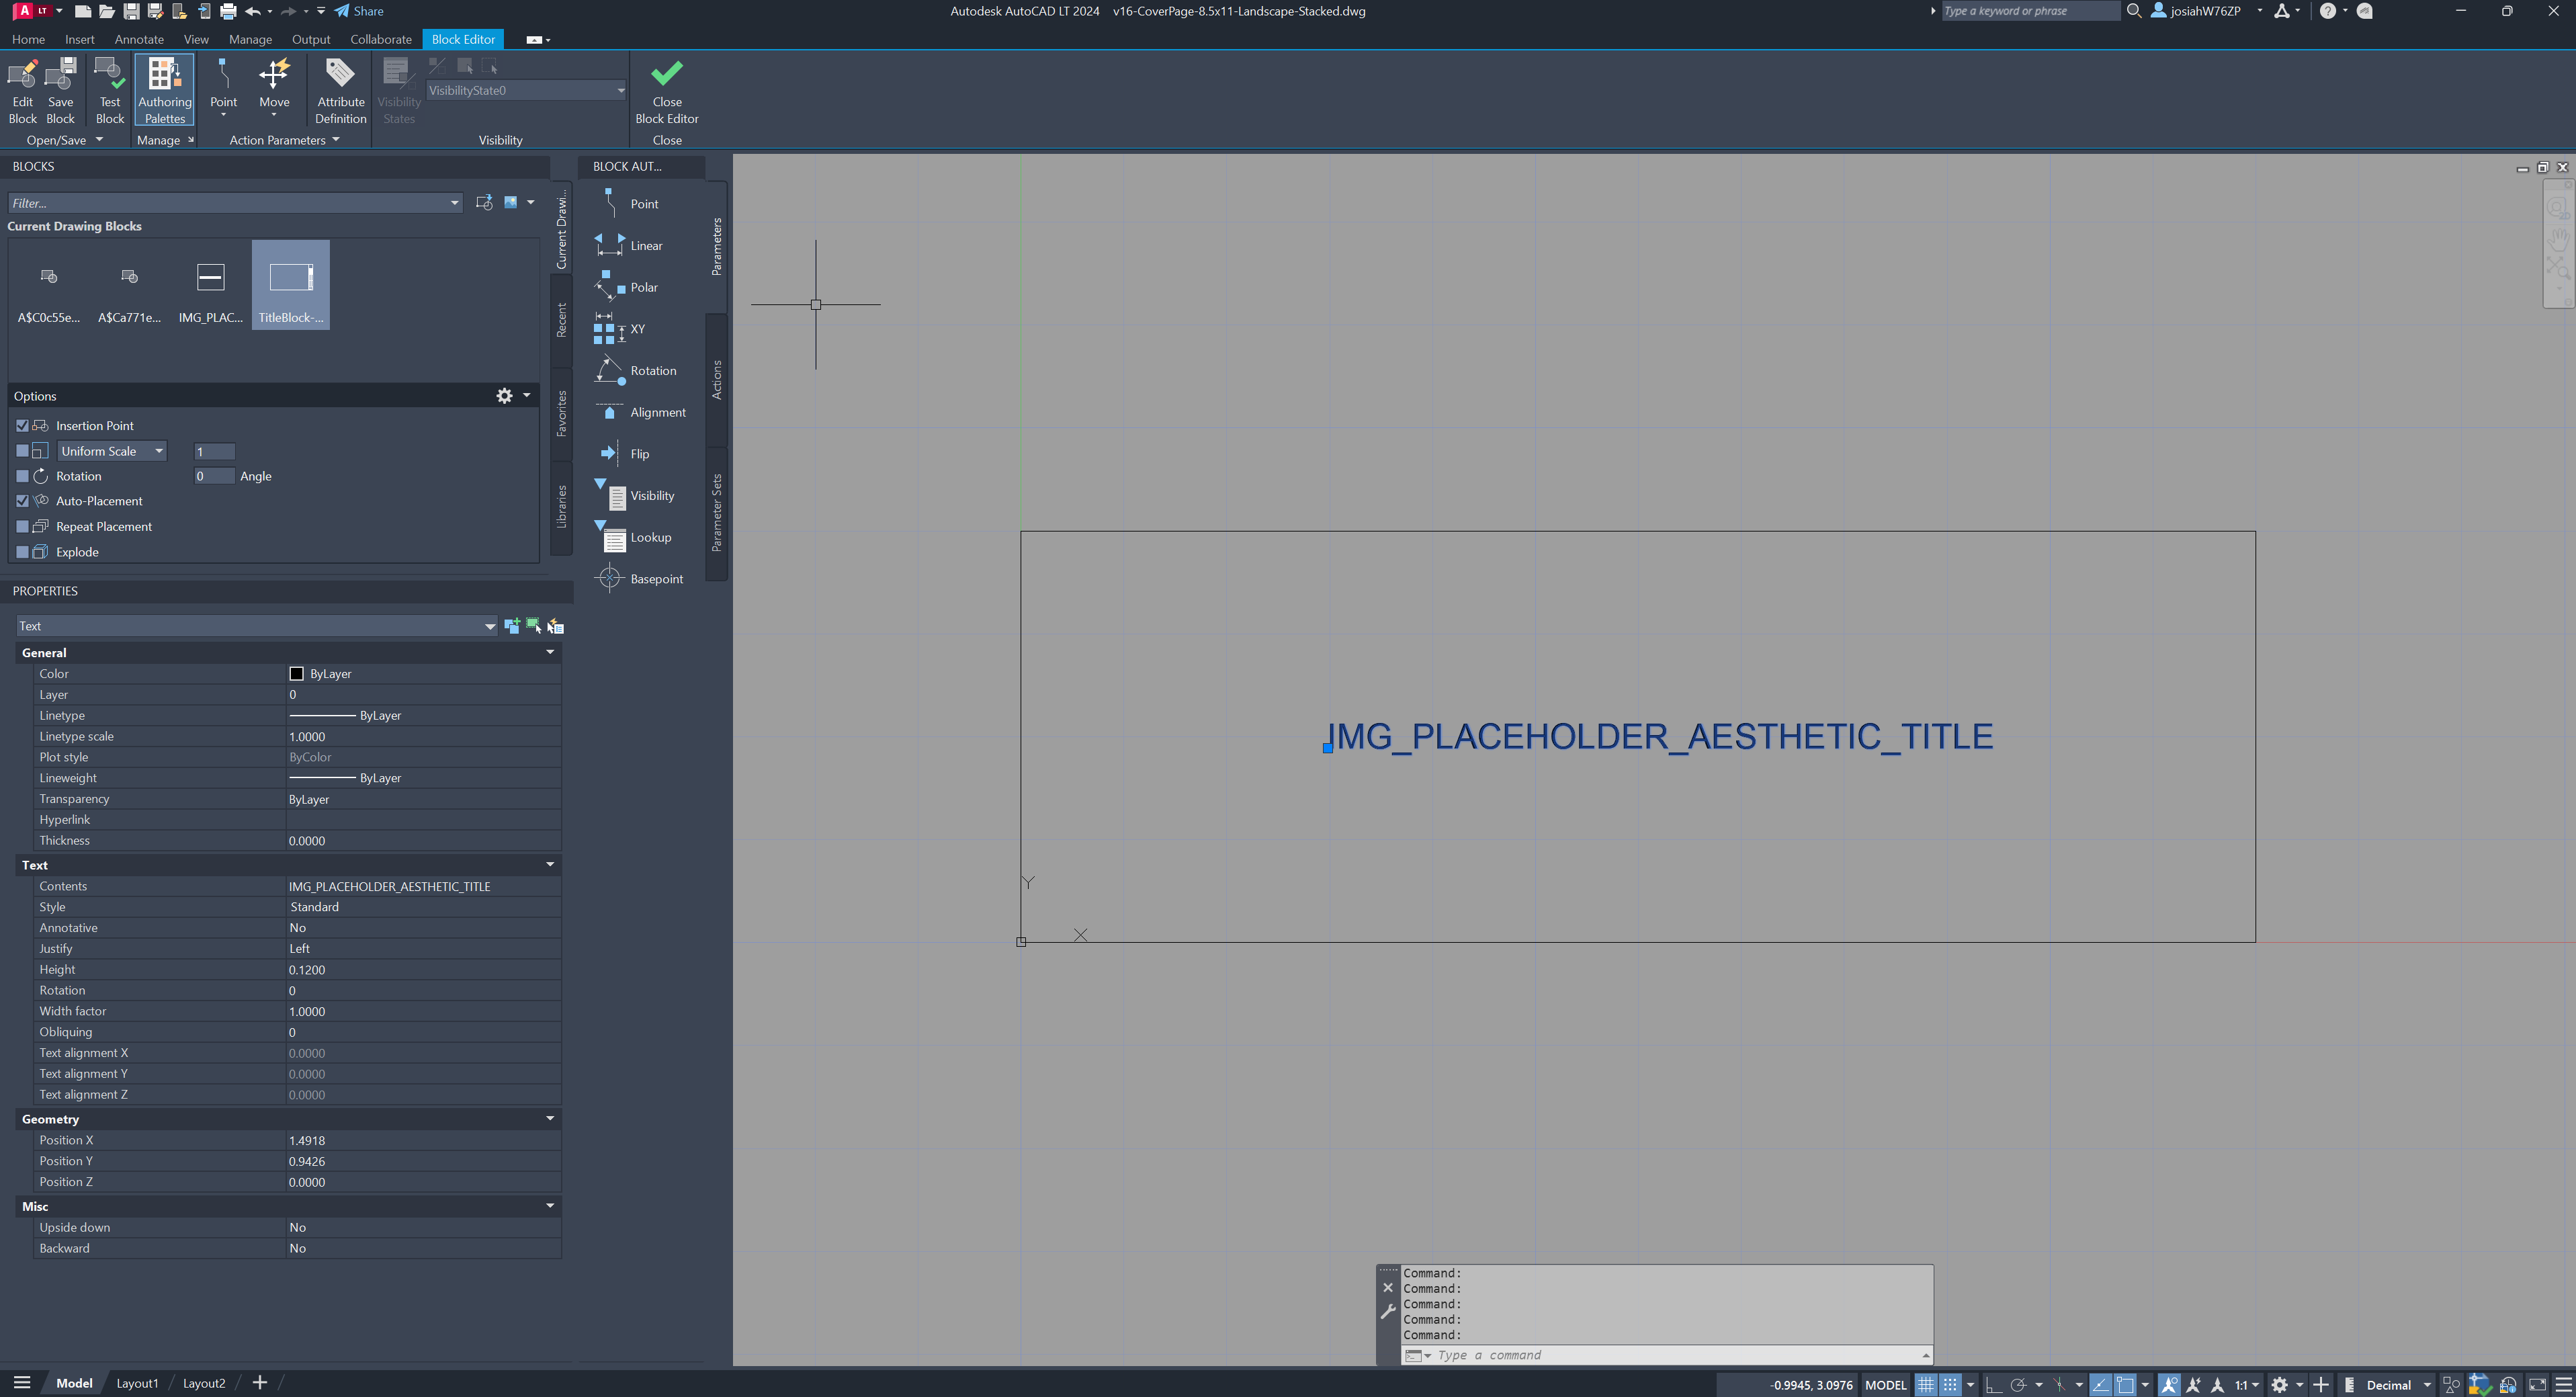
- If not there already you can now insert a block reference
Rotating the block does not get cleanly communicated with the printer driver and prints images as if there was no rotation. Its better to build the IMG block in the exact shape it will appear on the drawing. Then edit/rotate the image for it to appear in your expected orientation.
Shop Drawings Integration
- Cover page is automatically scaled to fit printer settings
- Appears as the first sheet in the shop drawing set
- Scaling warnings are shown if needed